


I apologise in advance for the 33 mentions of the word hydration that follows
A guide on experimenting with different dough hydration


Howdy y’all

I was recently thinking back to when I first started the no regretti spaghetti Instagram account, and woweee has it been a journey! When I first started, I was really only using it as a means to control the Insta algorithm to exclusively show me pasta related content. It was a space to find inspiration, learn new things and occasionally share my own pasta creations. Here I am three years on, with a stunnin’ community of like-minded pasta lovers, sharing my recipes, my learnings and everything else. While I didn’t set out specifically to do this, it has fulfilled a lifelong and secret dream that I had pushed to the back of my mind, never really believing there was space for me to share my love of food in this world. Not to get emotional, but I have a lot of gratitude.

This wee walk down memory lane did also get me thinking about what really pushed my interest in pasta making in the first place. And that was the dough. The pasta itself. It might sound odd, but when it comes to pasta it’s the element of making dough from scratch and using my hands to create intricate shapes over the sauce itself. The sauce is kind of just a means to eat the shape, IMO.
All of that reminiscing got me feeling inspired to focus on the pasta, so today’s newsletter is not a new sauce and shape pairing, but rather a mini guide into one aspect of pasta making that I have really enjoyed experimenting with: dough hydration.
Let’s start with the obvious point: what is dough hydration?
Dough hydration is a figure that represents the weight of the liquid relative to the weight of the flour. All of my recipes use specific hydration percentages, although I don’t usually disclose these and rather provide you with the weighted quantity instead - as do most recipes you’ll find practically anywhere.
Starting out in pasta making, you’ll find a couple of typical recipes suggested for beginners. First, you have the 1 egg per 100g flour for an egg dough (depending on the size of your eggs this could be anywhere between 50-70% hydration…), and a 50% hydration dough for semolina flour x water shapes. This post will focus on the latter type of dough, as it’s a little bit more straight forward than egg percentages (I’ll cover these another time). However, before I move on - I think this is an excellent point to stress the importance of using digital scales when weighing eggs. After all, 50-70% is quite a range to guesstimate by just using 1 egg per 100g flour method.
Beginner’s dough
As mentioned above, the most typical ratio suggested for durum wheat semolina flour doughs is 50%. This is the type of dough you’d make for many hand formed shapes like orecchiette, cavatelli, lorighittas, trofie, the like. More often than not, I suggest a 50% hydration dough in my recipes because it can be applied to practically every shape, and frankly it’s a lot easier to work with.
If you are just starting out in pasta making, this is the dough to start with.
100g durum wheat semolina flour
50g/ml water
= 50% hydration
But, this dough doesn’t come without its challenges.
Firstly, if like me you live in a tropical climate, then you might find your 50% dough can be drastically impacted by your environment - making it extra moist and overly pliable. Not great in most circumstances. In my opinion, if I’m having to add flour to my dough while shaping, then my hydration point is off.

Secondly, some shapes such as any type of strascinati (dragged shapes like foglie d’ulivo), or shapes that require structure like orecchiette, are more difficult to achieve with a higher hydration dough. Have you ever made orecchiette only for them to flatten while they dry? Or not hold and show that coveted dragged texture that pasta nerd dreams are made of?
This is where a lower hydro dough comes in.

Dropping the hydration percentage is an excellent way of introducing texture to the dough, but also enables you to better control the structure and shape. The obvious benefits are aesthetic, and practical; your shapes will be better pronounced, retain their form instead of falling flat, you’ll be able to shape more easily without dough getting stuck to your fingers or your ferro, and the texture you can achieve will lend itself to catching all of that delightful sauce you’ve spent time making.
Sounds perfect, right?
Well… not so fast. I mentioned above that I often suggest a 50% hydration dough because it’s easier to work with. I really do mean that. Lower hydration doughs can quickly become difficult to work with, and while you might think reducing the liquid ratio by a few percent might not make a difference, but you’d be surprised. Lower hydration doughs can be a (lengthy) challenge to knead and to shape. If you are new to pasta making, I guarantee you’d throw your shaggy, dry mound of dough (and unincorporated flour) out the window.
But, that’s why I’m writing this newsletter - I have a foolproof method for working with lower hydro doughs, and while it does take a little longer than your usual 50%, it makes working with a lower hydration much more achievable (and enjoyable).
But first…
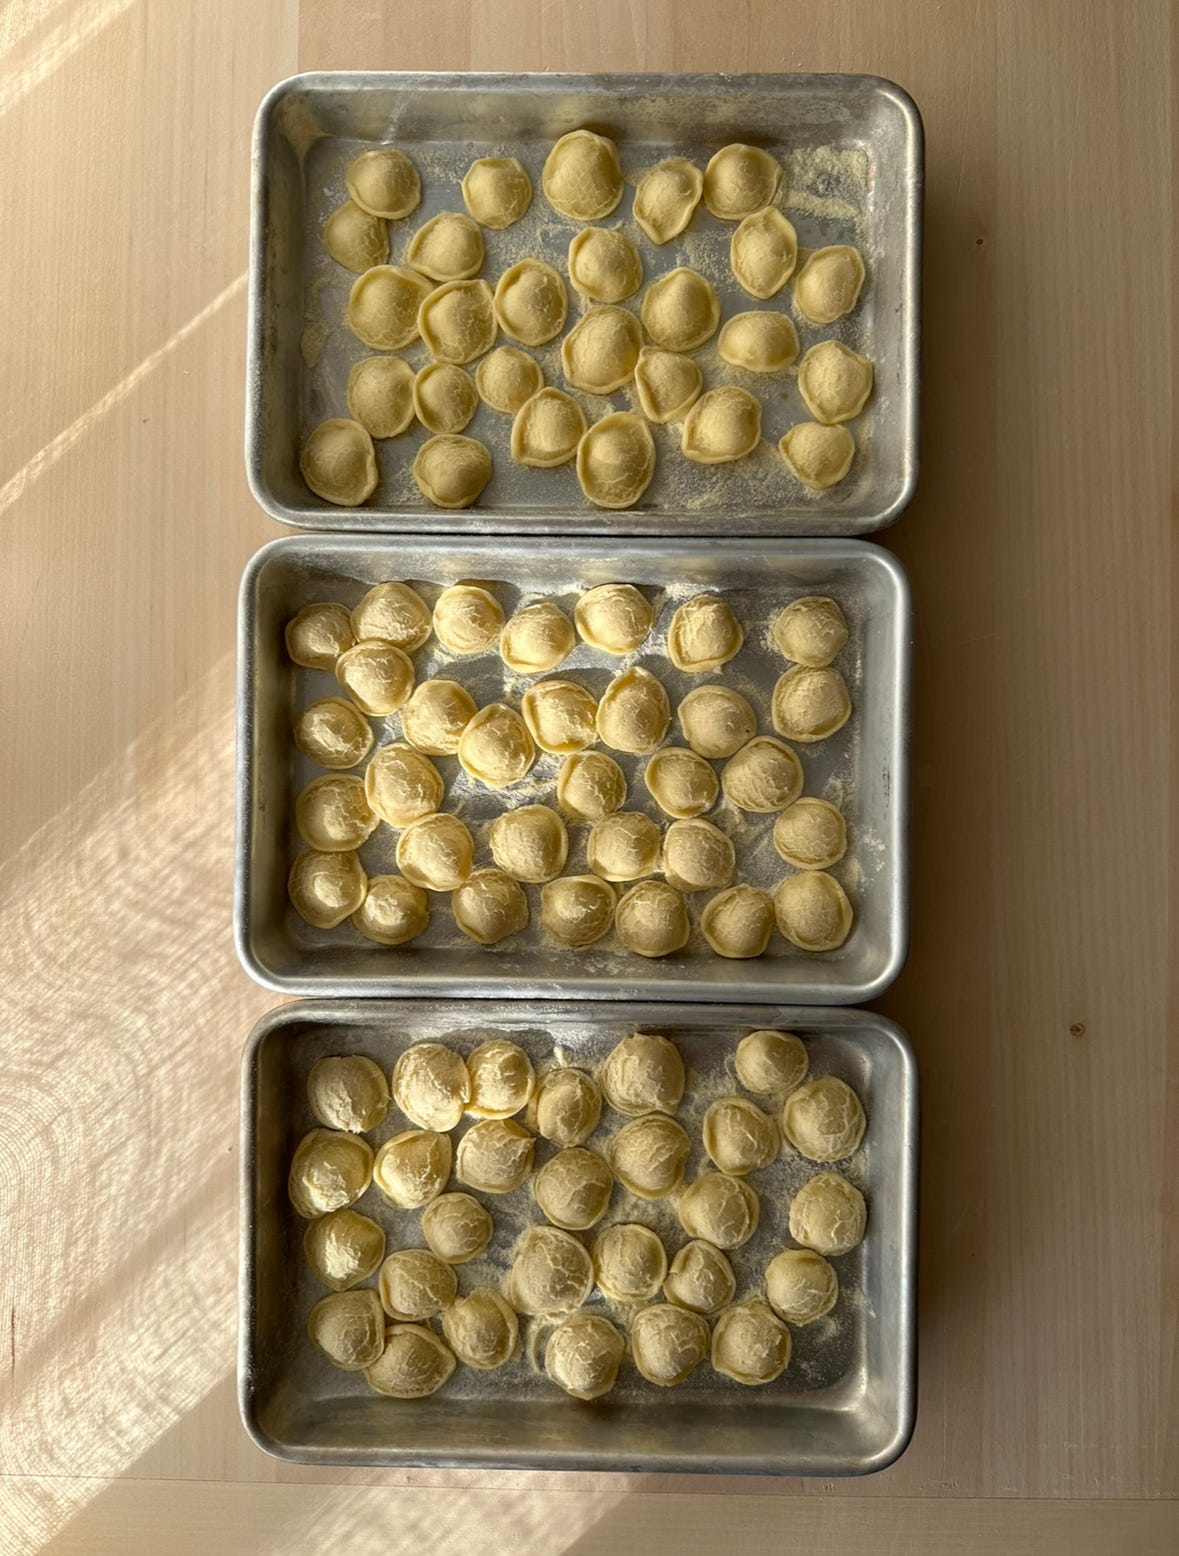
Let’s look at the difference of using different hydration percentages, with orecchiette as an example.
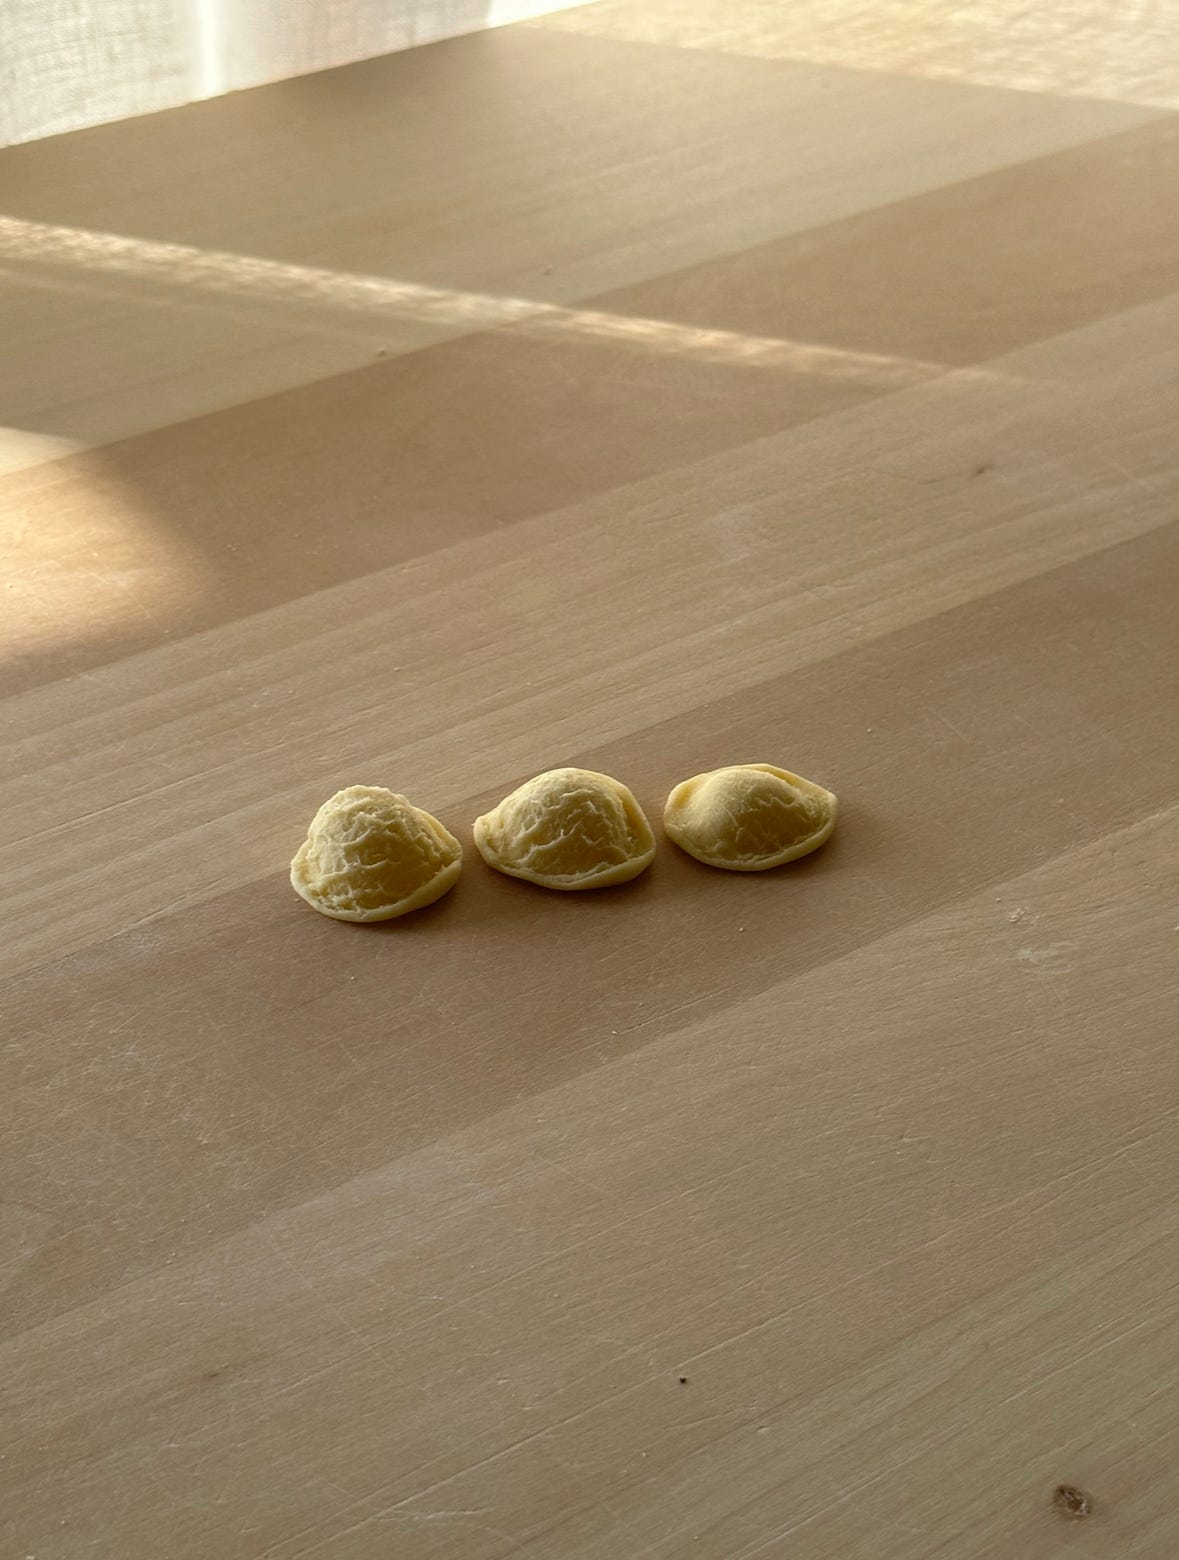


From lowest hydration point to highest, you can see immediately the difference in both form and texture.
On the left, we have a 40% hydration dough (40g/ml water per 100g flour). The dragged texture is exaggerated, the dough can withstand more pressure with the knife while forming, and its lower hydration supports a more pronounced and rounded orecchiette once it’s rolled back over your thumb to form the final shape. I was first introduced to the idea of a 40% dough for orecchiette by my Insta pal One Year Sfoglino and I haven’t really looked back. While the finished orecchiette are stunning, the lower hydration percentage makes the dough a challenge to work with. The dough is dry, incorporating the flour can be tough, and even rolling a homogenous rope to cut from can be an issue. But hot DAMN how good does it look?!

In the middle, a 45% hydration dough (45g/ml water per 100g flour). While form and texture are still pronounced, the slightly higher percentage does make this dough a little easier to work with and that bit more flexible (with less breakages), and a better curl presents on the lip. Incorporating all of the flour is still a bit of a process, but overall this is a fine dough to work with, and a bit less demanding than the 40%.
And finally on the right, our standard 50% dough (50g/ml water per 100g flour). It’s evident that the structure of the orecchiette loses out a little with the higher hydration percentage (way flatter!), and the texture is not nearly as pronounced. However on the plus side, the dough is easy and quick to work with. Is this a bad orecchiette? Of course not! But I think it’s fair to say, a lower hydration point for this shape yields a better result.
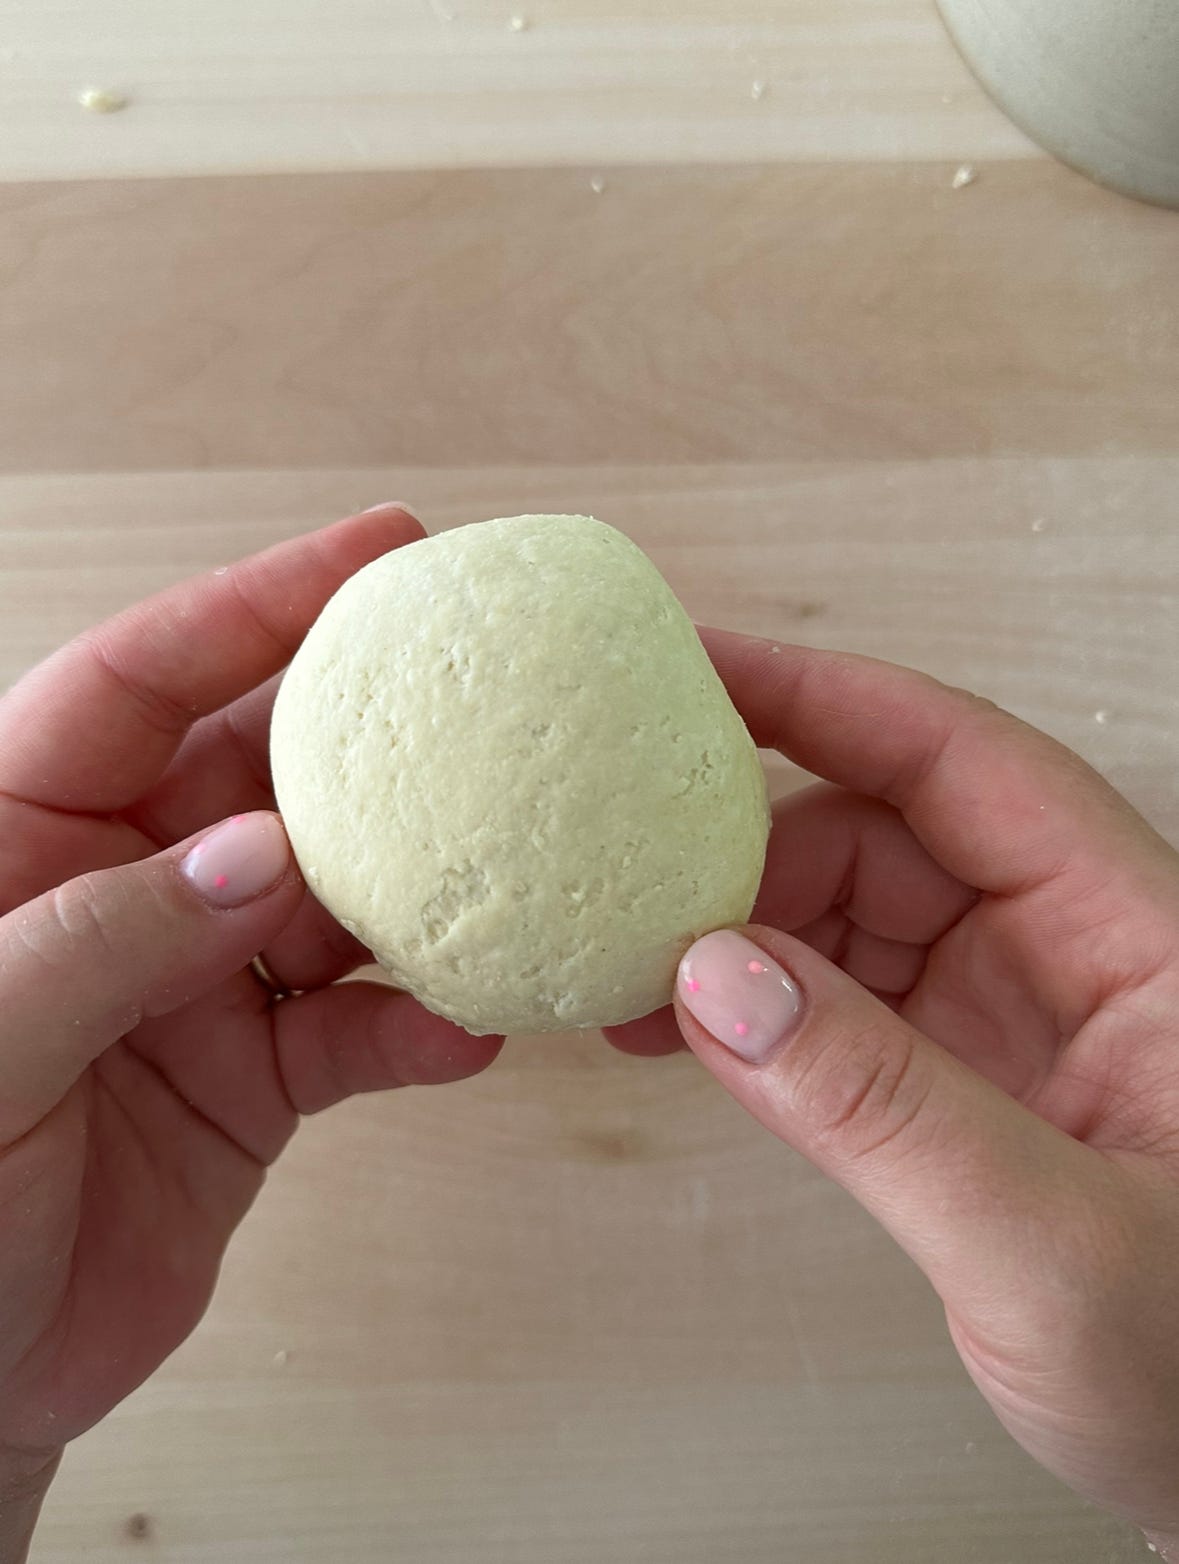
Let’s make some dough
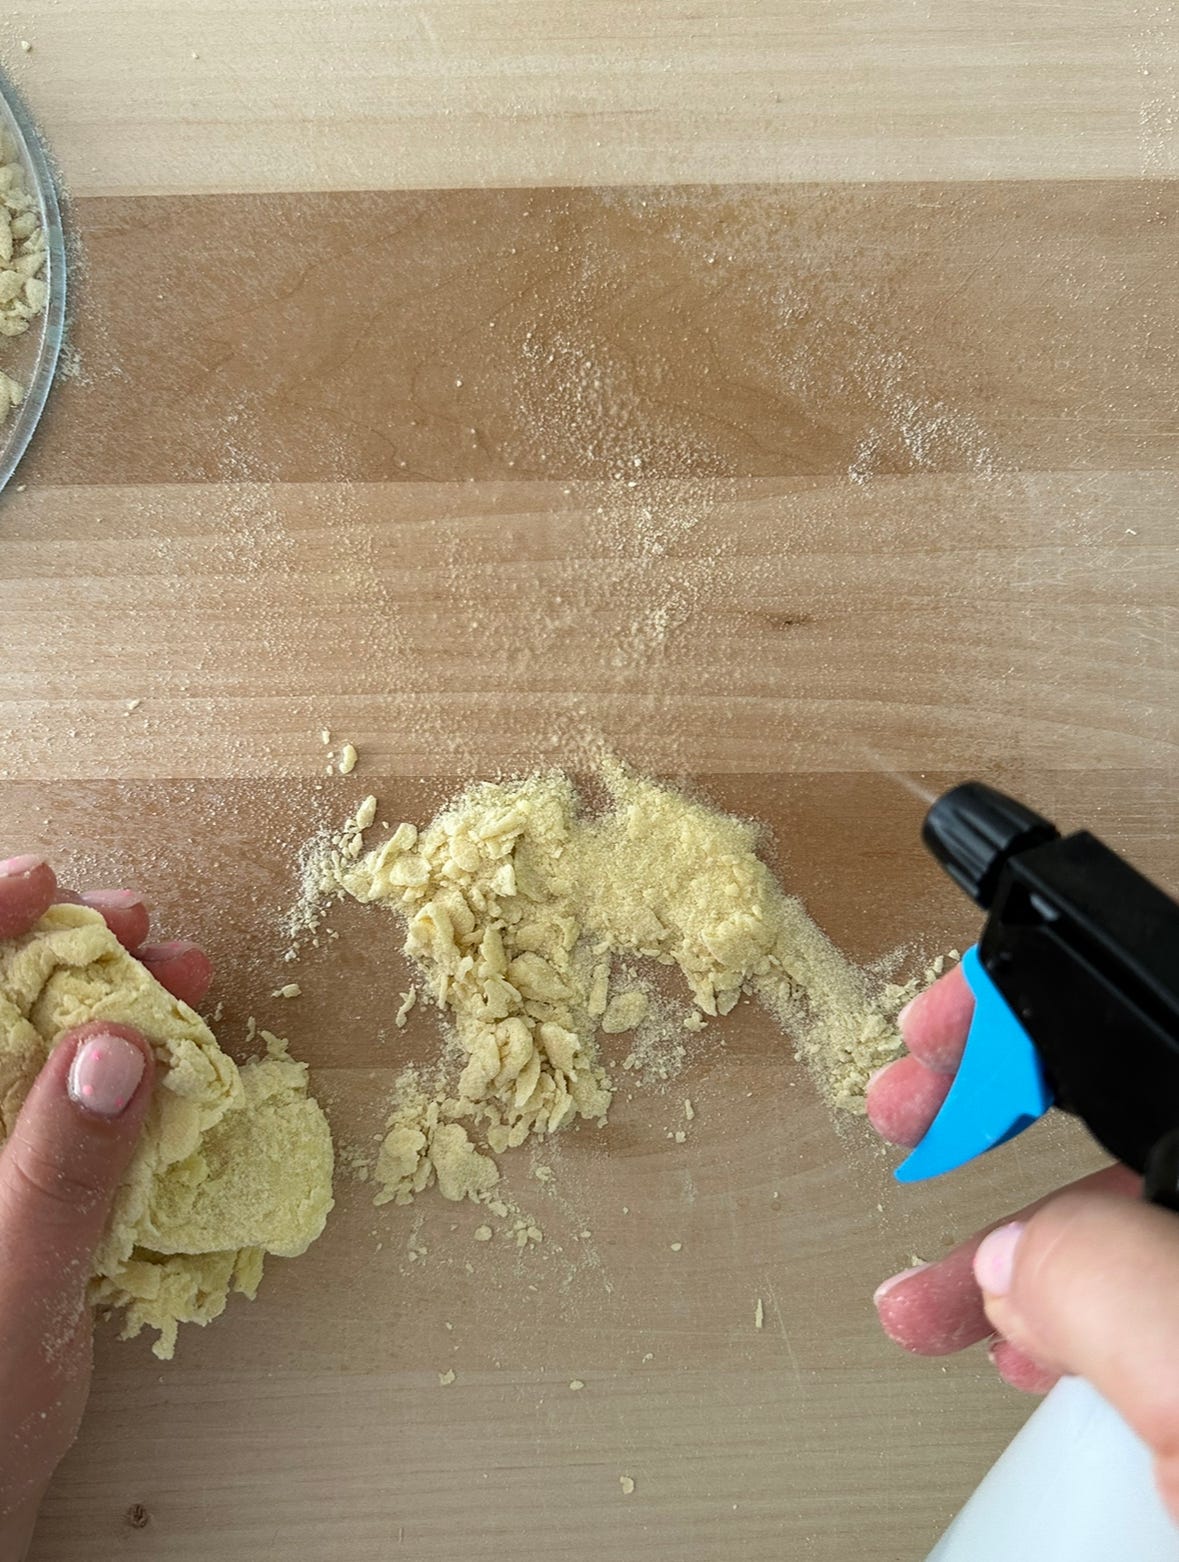
The biggest challenge with a lower hydro dough is that it can be difficult to incorporate all of the flour with the reduced amount of liquid. The way to tackle this is by adding in additional rest periods to allow the dough to rehydrate in stages. As a rule of thumb, the lower the hydration, the longer I rest the dough during these periods. Additionally, a spray bottle filled with water is a great help during all stages of working with this sort of dough.
I follow this method for any type of hydration point below 50%.
On a work surface, add the semolina flour and create a well in the centre. Slowly drizzle in the warm water and whisk until you have a custard-like consistency.
Switch to a bench scraper and start to flip the flour from the outer edge over and onto the water mix, using a cutting motion to then mix it in. Continue to do this around all sides until you have a crumbly, sand-like mix. It’s ok if you have some loose flour, but try to incorporate at much as possible.
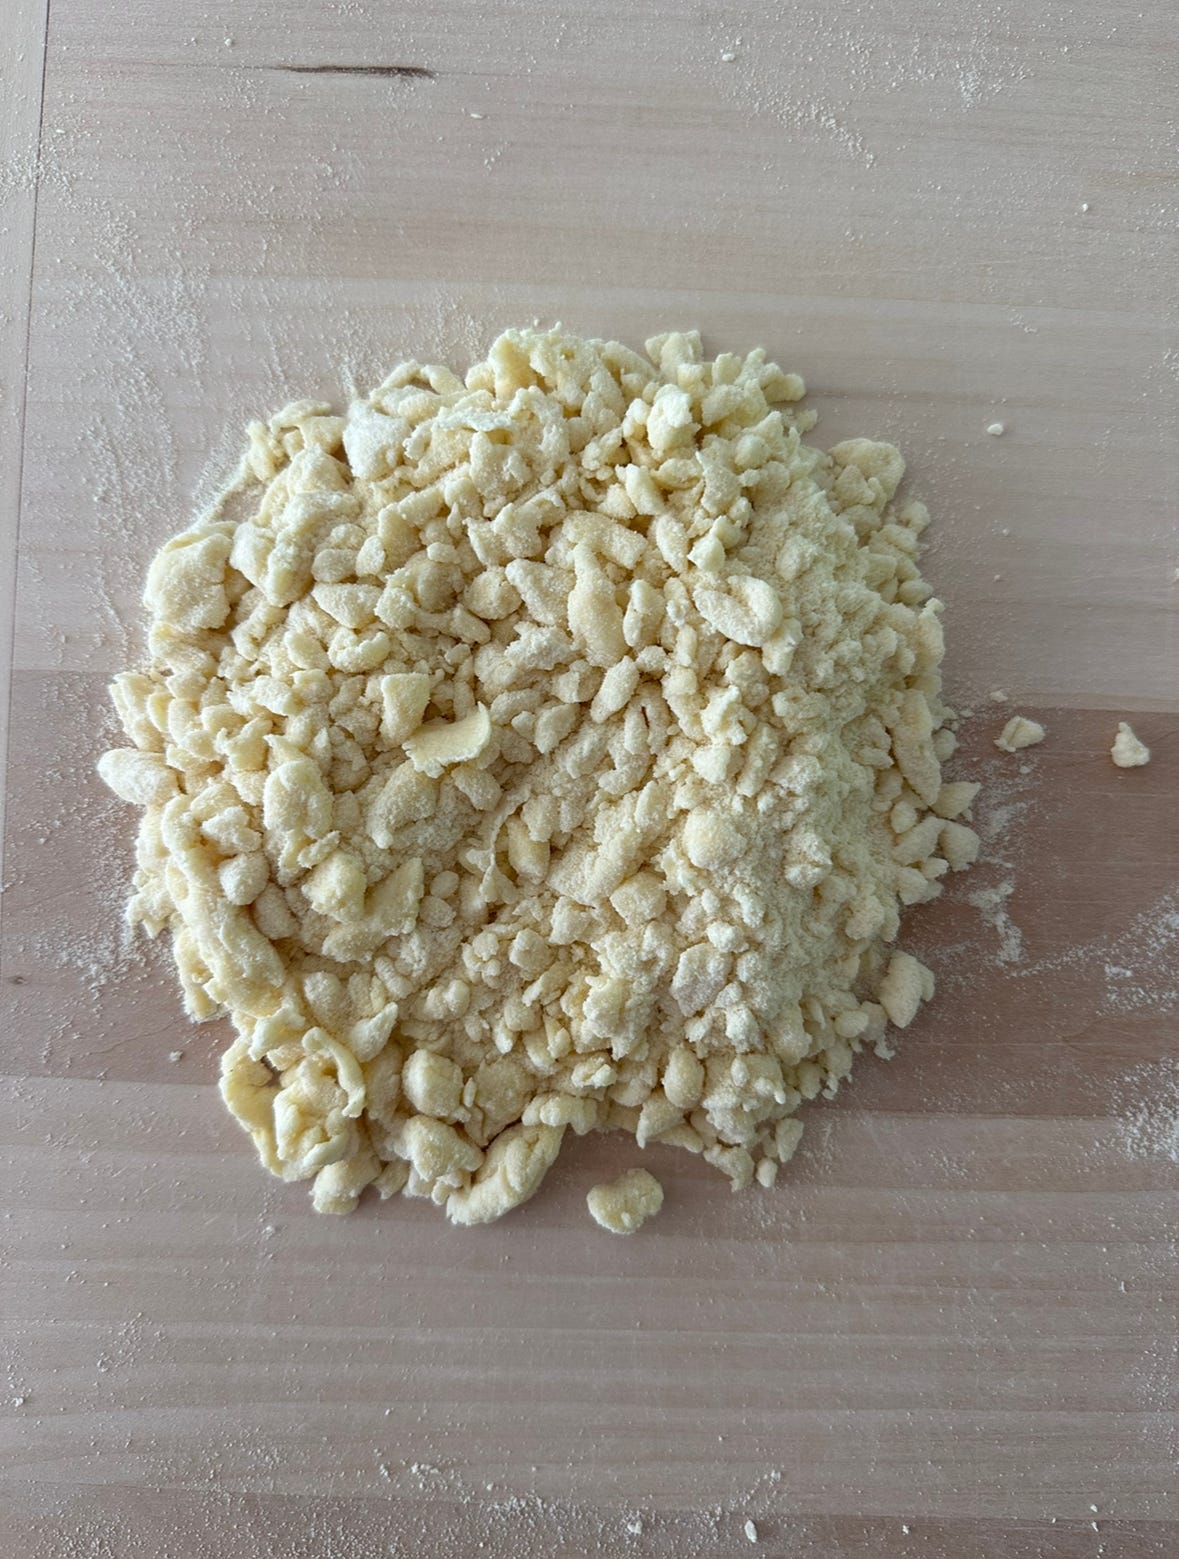
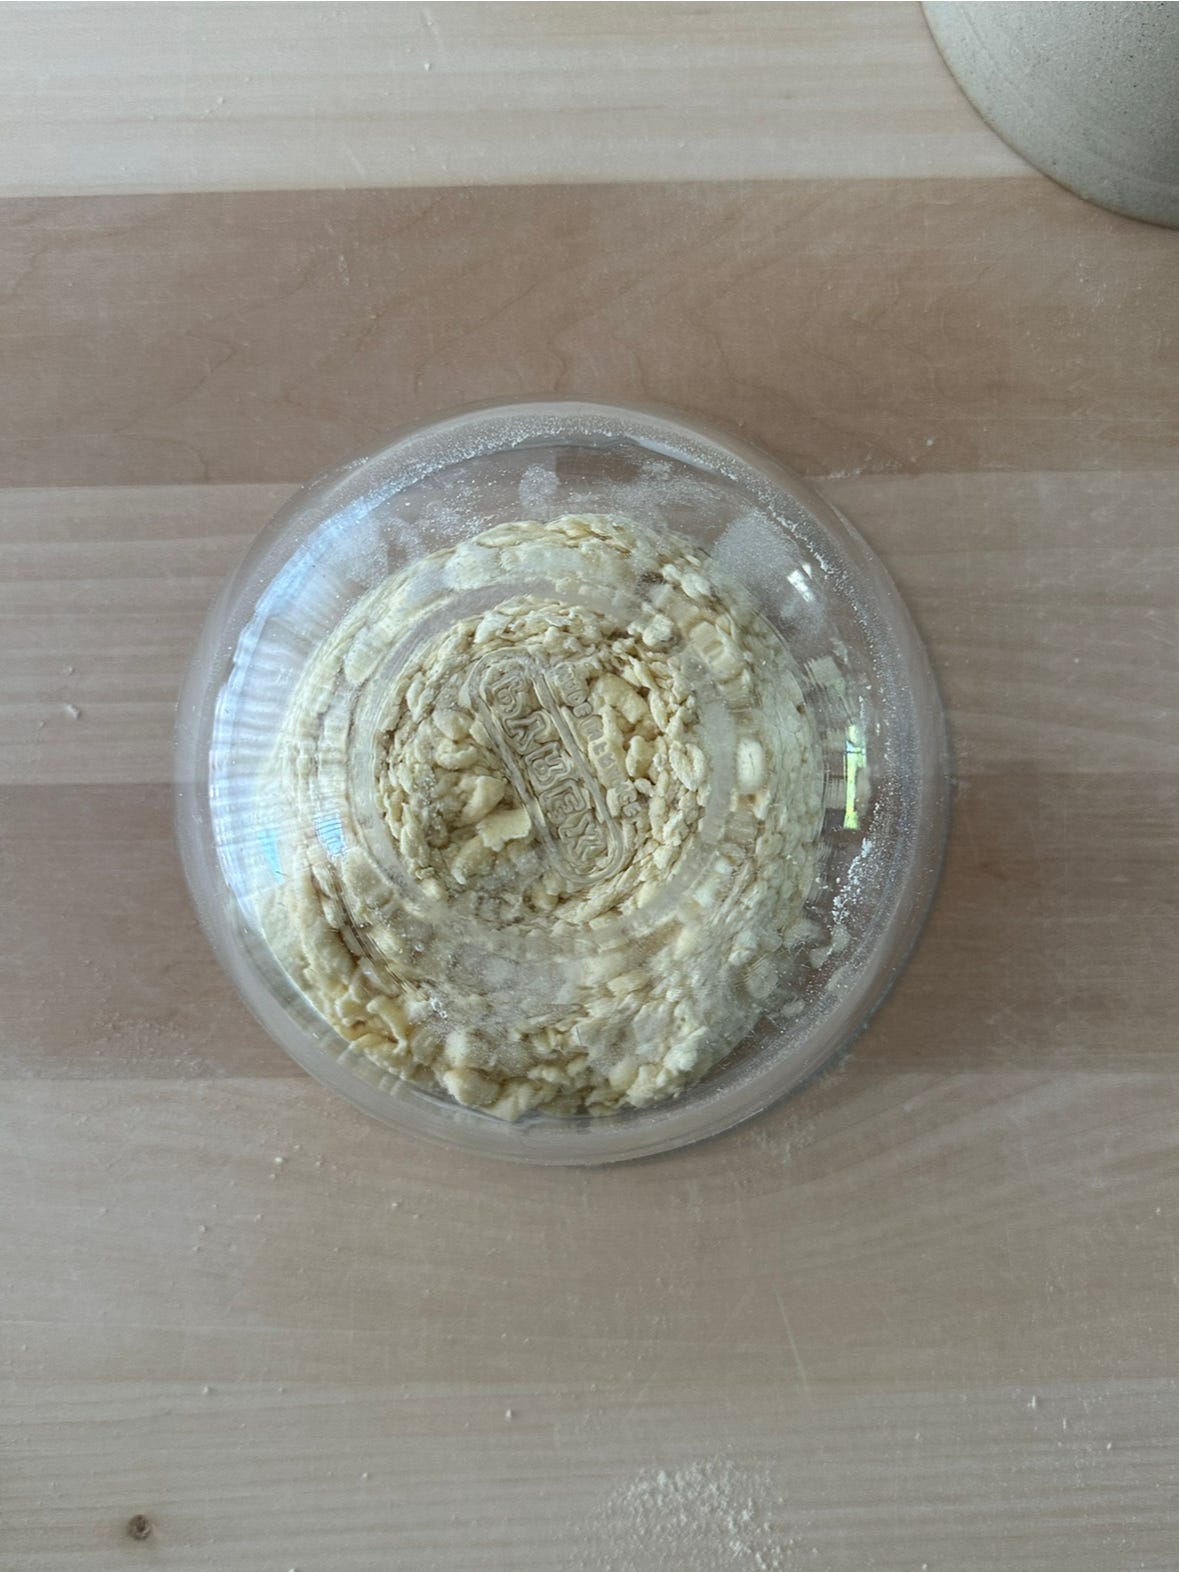
Cover this mound of flour with a bowl and leave to rest for 15 minutes to rehydrate.
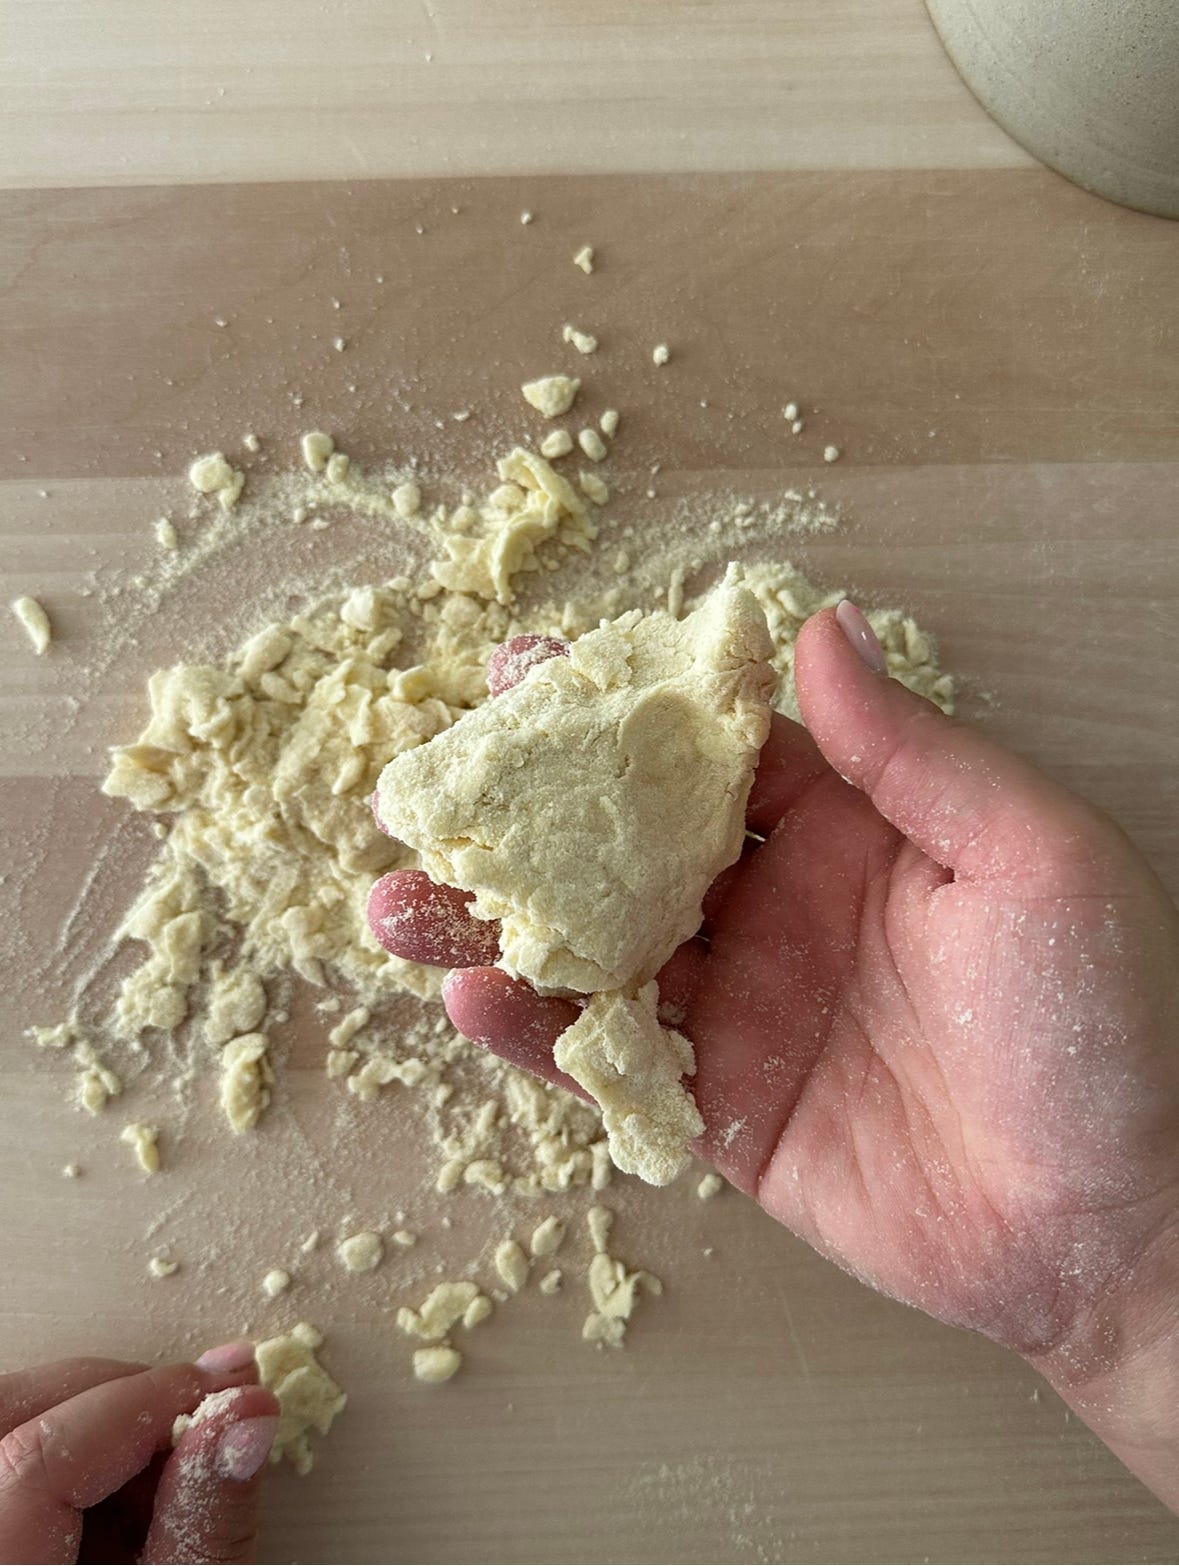
Come back to the crumbly dough and start to bring it together with your hands, squeezing and coaxing it in a ball of dough that’s knead-able - scraping up and incorporating as much loose flour from your work surface as possible. You’ll likely need to use the aid of a spritz bottle of water - spray the work surface as opposed to the dough, and use it to help you form a ball.
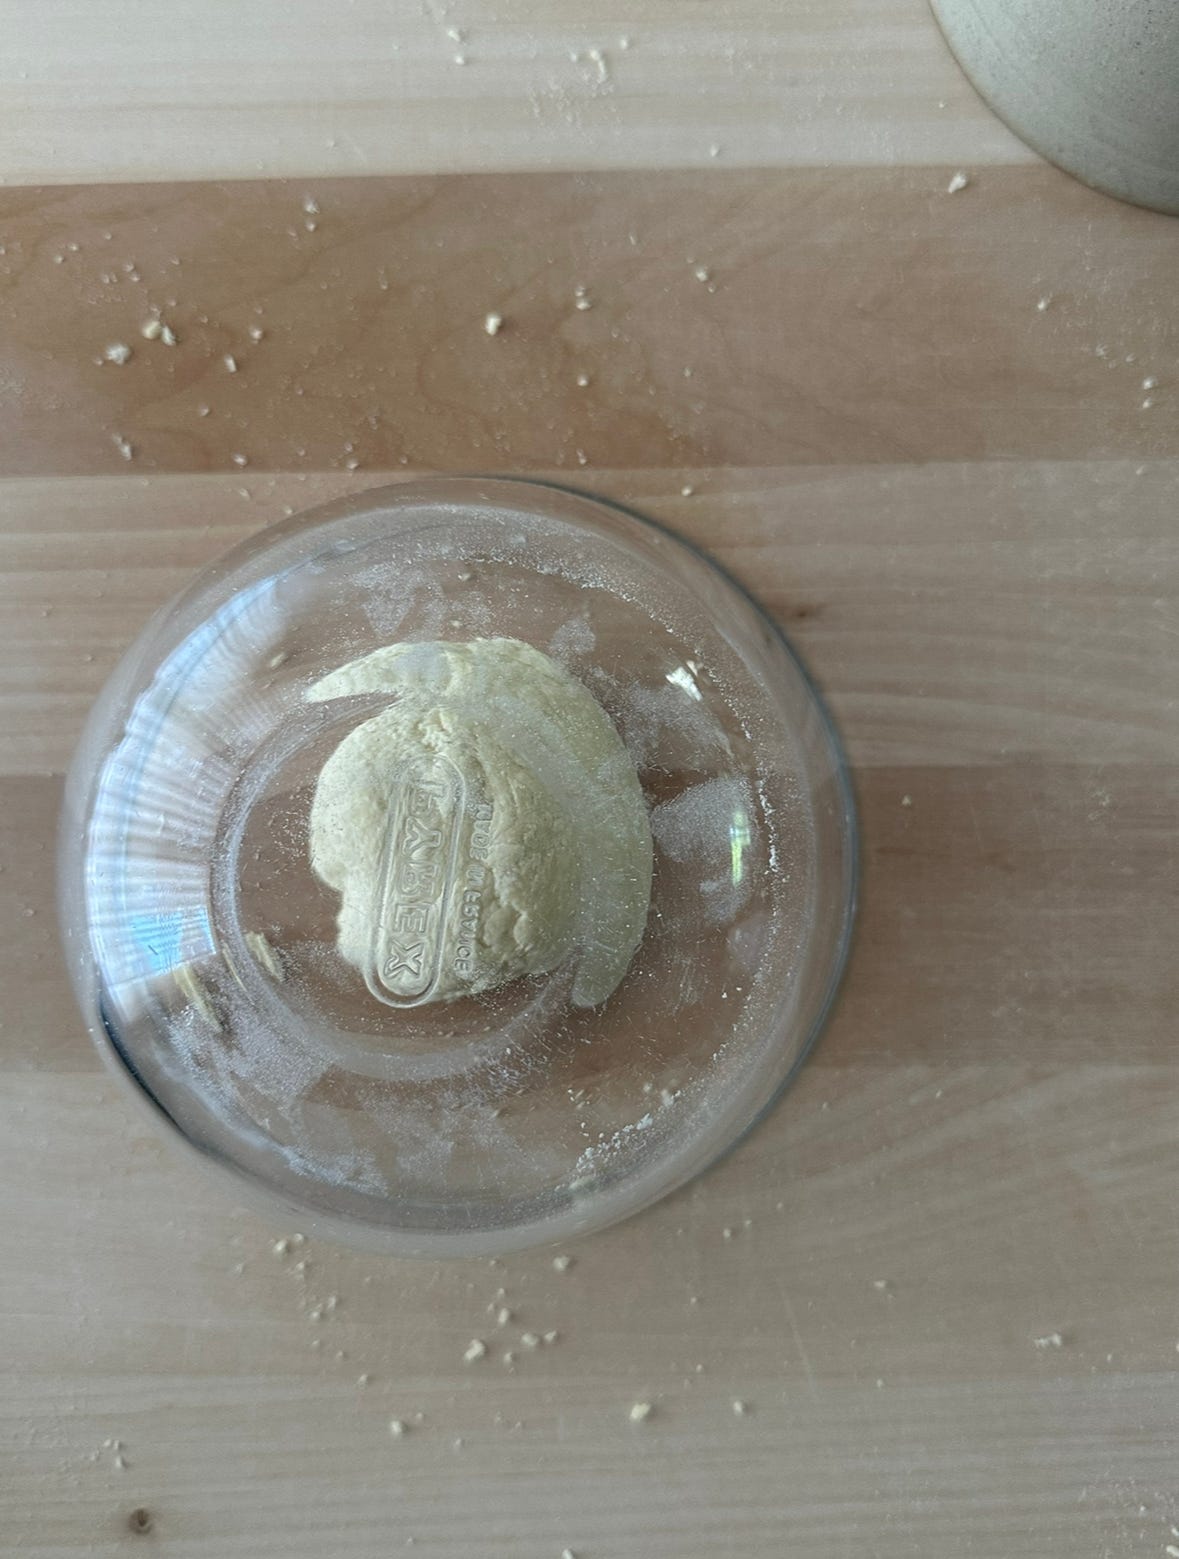
Cover the ball again and rest for another 10-15 minutes to rehydrate for a second time.
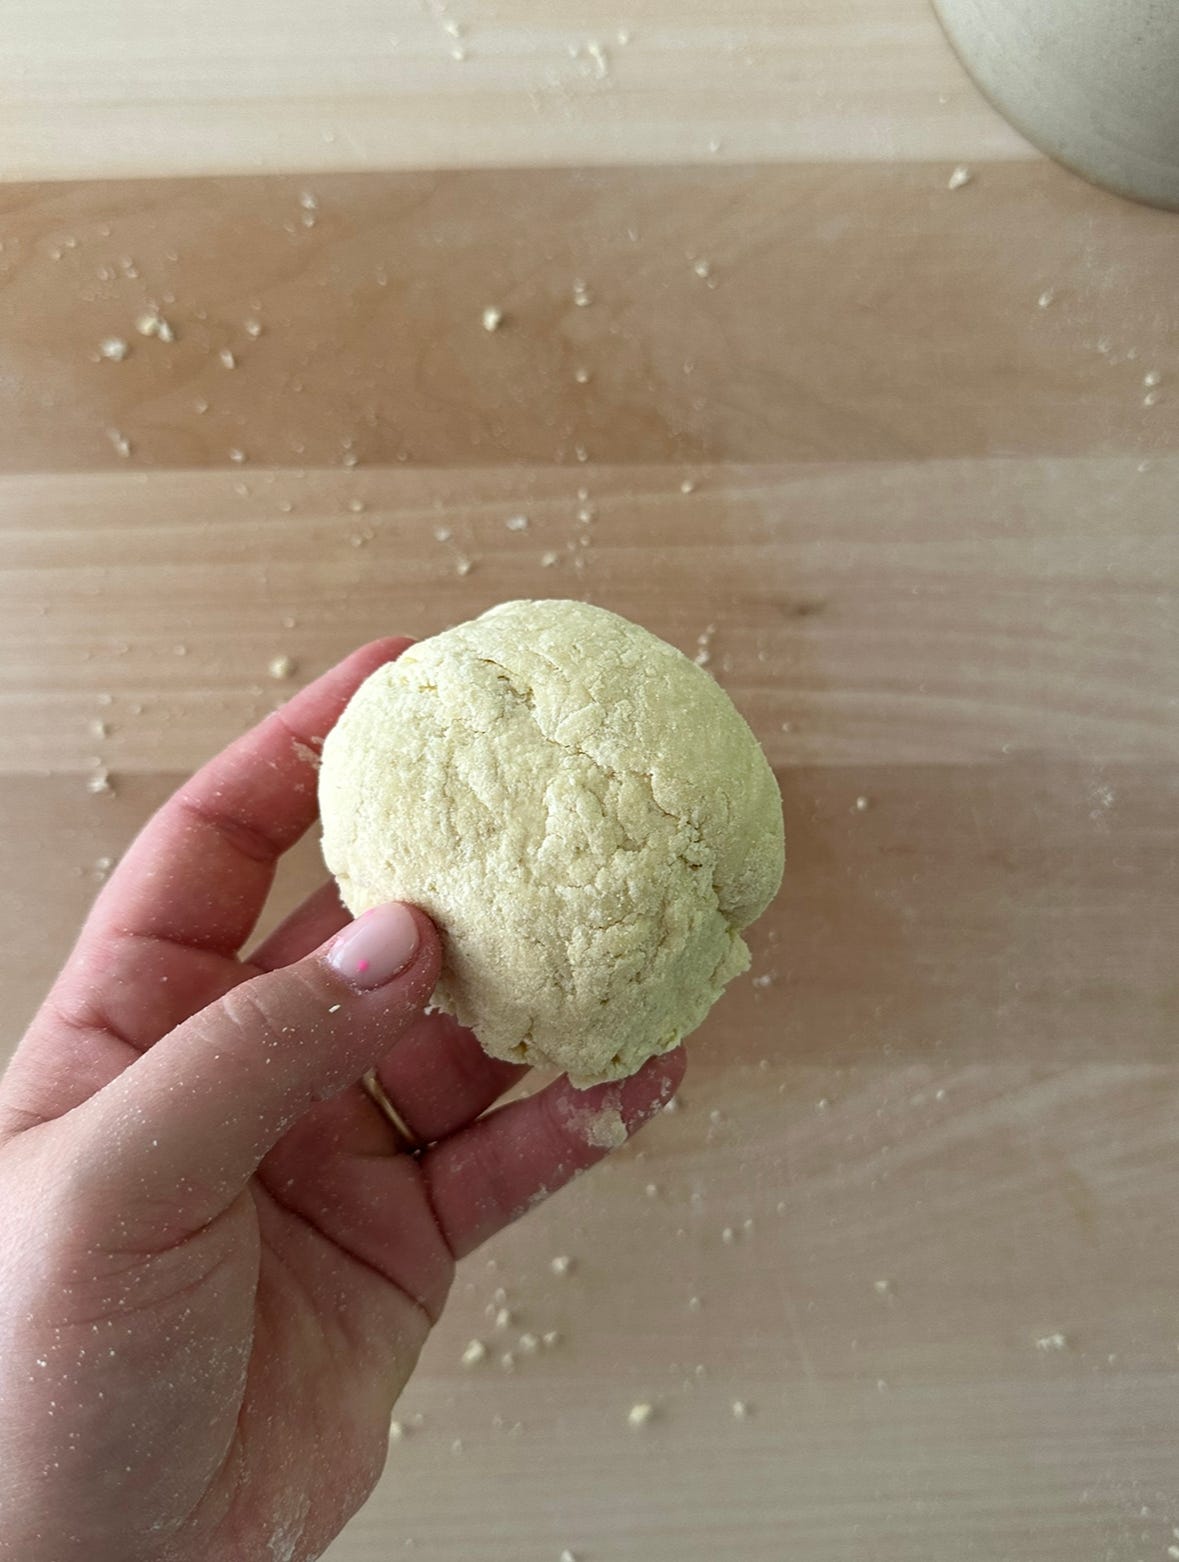
After this second rest, begin kneading the dough for a 7-10 min - using the spritz bottle of water as needed. The lower hydration dough will be less springy and elastic comparatively to a regular 50% dough, but you’re still looking for a smooth ball of dough nonetheless. NB: If you’re struggling to get to this formed ball stage, add in another rest and revisit the dough after another 10 or so minutes.
Once you’ve got your ball of dough - cover and rest for 30 minutes before shaping to your heart’s content.
Hot tip: When it comes to rolling the dough, I like to use my water bottle to spritz water onto the work surface and use it to help create tension and friction between the drier dough and the board.
Let’s finish with one minor caveat
As tempting as it is to go straight to a lower hydration dough, it doesn’t always make sense for every shape. Typically, I go lower for orecchiette and other strascinati where I want a pronounced texture on the drag and good form. Other shapes like lorighittas for example, need that little bit of extra hydration to keep the dough elastic, pliable and easy to roll into finer strands.
The beauty of working with percentages is that you can have a play around. Think about your environment (how humid is it?), what shape you’re making, how far you want to push it - the world is your proverbial oyster!
In terms of the perfect hydration? Well, that’s down to personal preference. As much as I love the lower hydros, I’ve found a really happy place with 45-47% for many shapes.
Anyway -

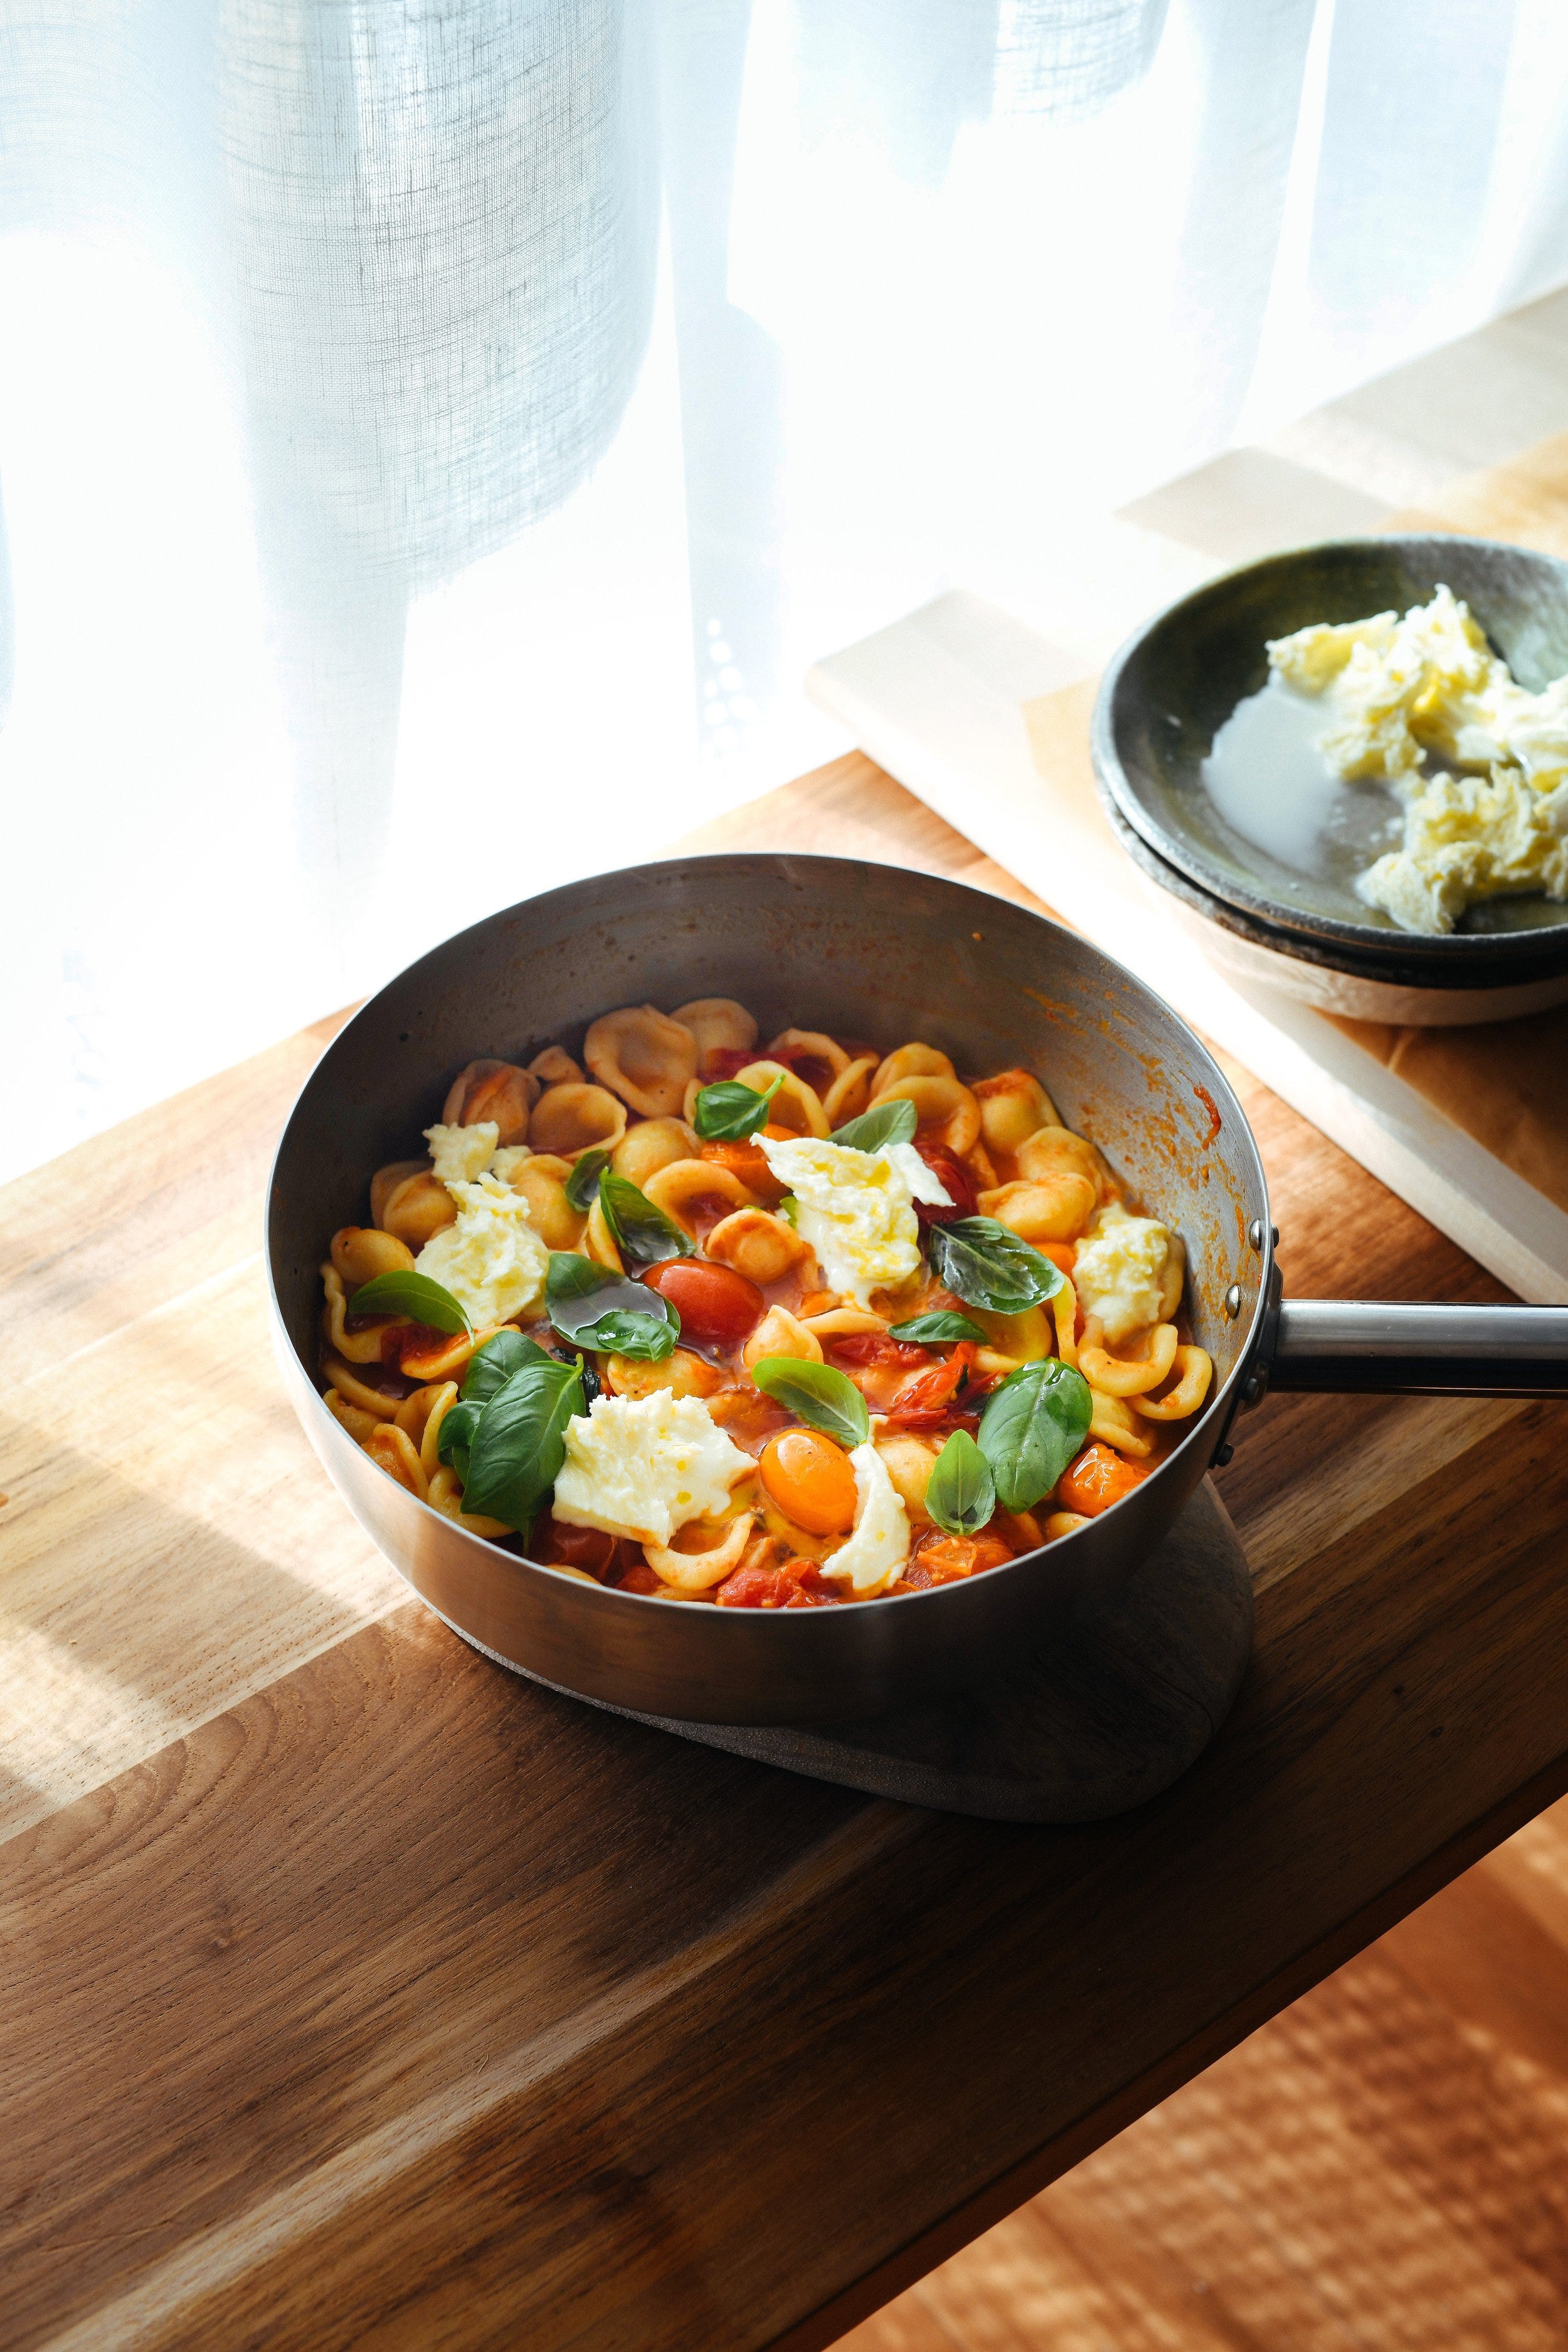
- and if you do feel inspired to try your hand at making orecchiette after reading this, why not check out my recipe for orecchiette with burst tomato sauce and mozzarella?
Happy Sunday!
x