


I'm just going to say it: your homemade spaghetti could be a lot better
plus! a recipe for spaghetti con burro e bottarga

In today’s post I go into detail on how to make better pasta at home, specifically for making typically extruded shapes like spaghetti or linguine using the cutting tool for your pasta machine. I’ve got an updated method on achieving a 37-38% hydration dough, that is pretty hands off to make. Plus, a lovely little recipe for a butter and bottarga sauce - for something so simple the flavours are out of this world.
One thing you need to know about me is that I love a little research project. If a topic sparks just the right amount of interest, you can guarantee I will find out everything I can about it. Unfortunately sometimes this leads me down late night rabbit holes on the internet, usually deep diving into something obscure and likely to be totally useless information to store in my memory bank. However thankfully this passion for information does come in handy from time to time.
One such topic that has ignited this passion is of course pasta. Specifically, making better pasta at home. When I first started making pasta, of course my approach was that of a total beginner. I used a basic 1 egg per 100g flour ratio for my dough, didn’t really realise you could make pasta without eggs (lol) and exclusively used the cutting attachments that came with my pasta machine. And while I was always absolutely thrilled with any fresh pasta that came out of the kitchen, made by my own hands, I always wondered why the spaghetti I made just… wasn’t very good.
If you have also tried to make fresh spaghetti at home, I’ll wager you might have been left even marginally disappointed. And after much trial and error I have got answers as to why!
Here’s where we’ve been going wrong
First thing’s first, let’s address the elephant in the room. Spaghetti made at home is truly better off being made with a semolina/water dough. Spaghetti after all is not typically made with eggs, and if you do make it with eggs you’re going to end up with something a little more noodle-like in taste and texture. Delicious in its own right, but in the context of pasta-making, not the result we’re looking for.
Now we can move onto the trifecta of reasons as to why your homemade spaghetti isn’t as good as it could be.
Thickness
I passionately believe there is a common misconception that the thinner the pasta, the better it is. And look, I pass absolutely no judgement… but this is simply just not true. Each shape lends itself to a different thickness that will not only impact how it rolls and dries, but how it cooks and retains structure, and bite.
For example, mandilli de saea (silk handkerchiefs)? Ultra fine is essential for this shape. Pappardelle? If you’re rolling past a 6, we need to talk.

Spaghetti at home also needs to abide by the rules of thickness. Spaghetti is generally speaking, an extruded shape. That means it’s made by dough being forced through a specially shaped die to create the round long strands that we all know and love.
While many machine manuals may suggest rolling the pasta to a setting of 4 before using the cutting tool, I personally find a much better result by leaving the sheet a little thicker - rolling to setting 3 for spaghetti (this is on a Marcato Atlas 150). That little bit of extra thickness not only helps retain that beautiful round shape, but also lends itself to ensuring a beautifully al dente bite, once cooked.
Hydration
Extruded pasta utilise a much lower hydration point than fresh pasta made at home. The application is also completely different, given you add flour and liquid to the chamber of an extruder that does the kneading for you. The dough will combine to become crumb-like, before it’s forced through the die - which means you don’t need to coax this low-hydro dough into a pliable ball before extruding, unlike you need to at home using a cutting attachment.
So how do we drop the hydration, while still being able to work it into a ball of dough that can in turn be rolled into a sheet?
R&R - rest and relaxation. I have previously written about how to approach this, allowing you to drop down to a 37% hydrated dough, however I have an updated method which is a little easier to work with that I’m excited to share with you below. But in short, incorporating generous rest phases in the dough process helps to rehydrate the dough, and thus makes working with a low hydration dough possible and relatively easy.
Drying
I have tested cooking spaghetti even at this lower hydration right away, and I found that it didn’t retain the structure and bite I was trying to replicate. I found that from fresh, the pasta cooked quite quickly and as such, it was hard to keep it al dente. Additionally, I felt the shape warped slightly, and it became somewhat wormy in appearance.
So I then tested drying the spaghetti before cooking. I found my preference was to use a drying rack (you can also just use wire coat hangers if you don’t have a special rack to work with), and was pleased with 1) how quickly I could dry the strands and 2) how well they retained their shape when cooked. After drying the pasta, I found I was able to better control the level of al dente, but also found I was better able to replicate the mouthfeel and bite of extruded spaghetti.
A step by step guide!
This is my updated method for achieving a low hydration semolina/water dough at home.
Ingredients (yields approx 275g / 2 serves)
200g semolina rimacinata
75ml water
This recipe can be scaled provided you maintain a hydration of ~37% (e.g. 200g flour / 75ml water, 300g flour/112ml water, 400g flour/150ml water etc)
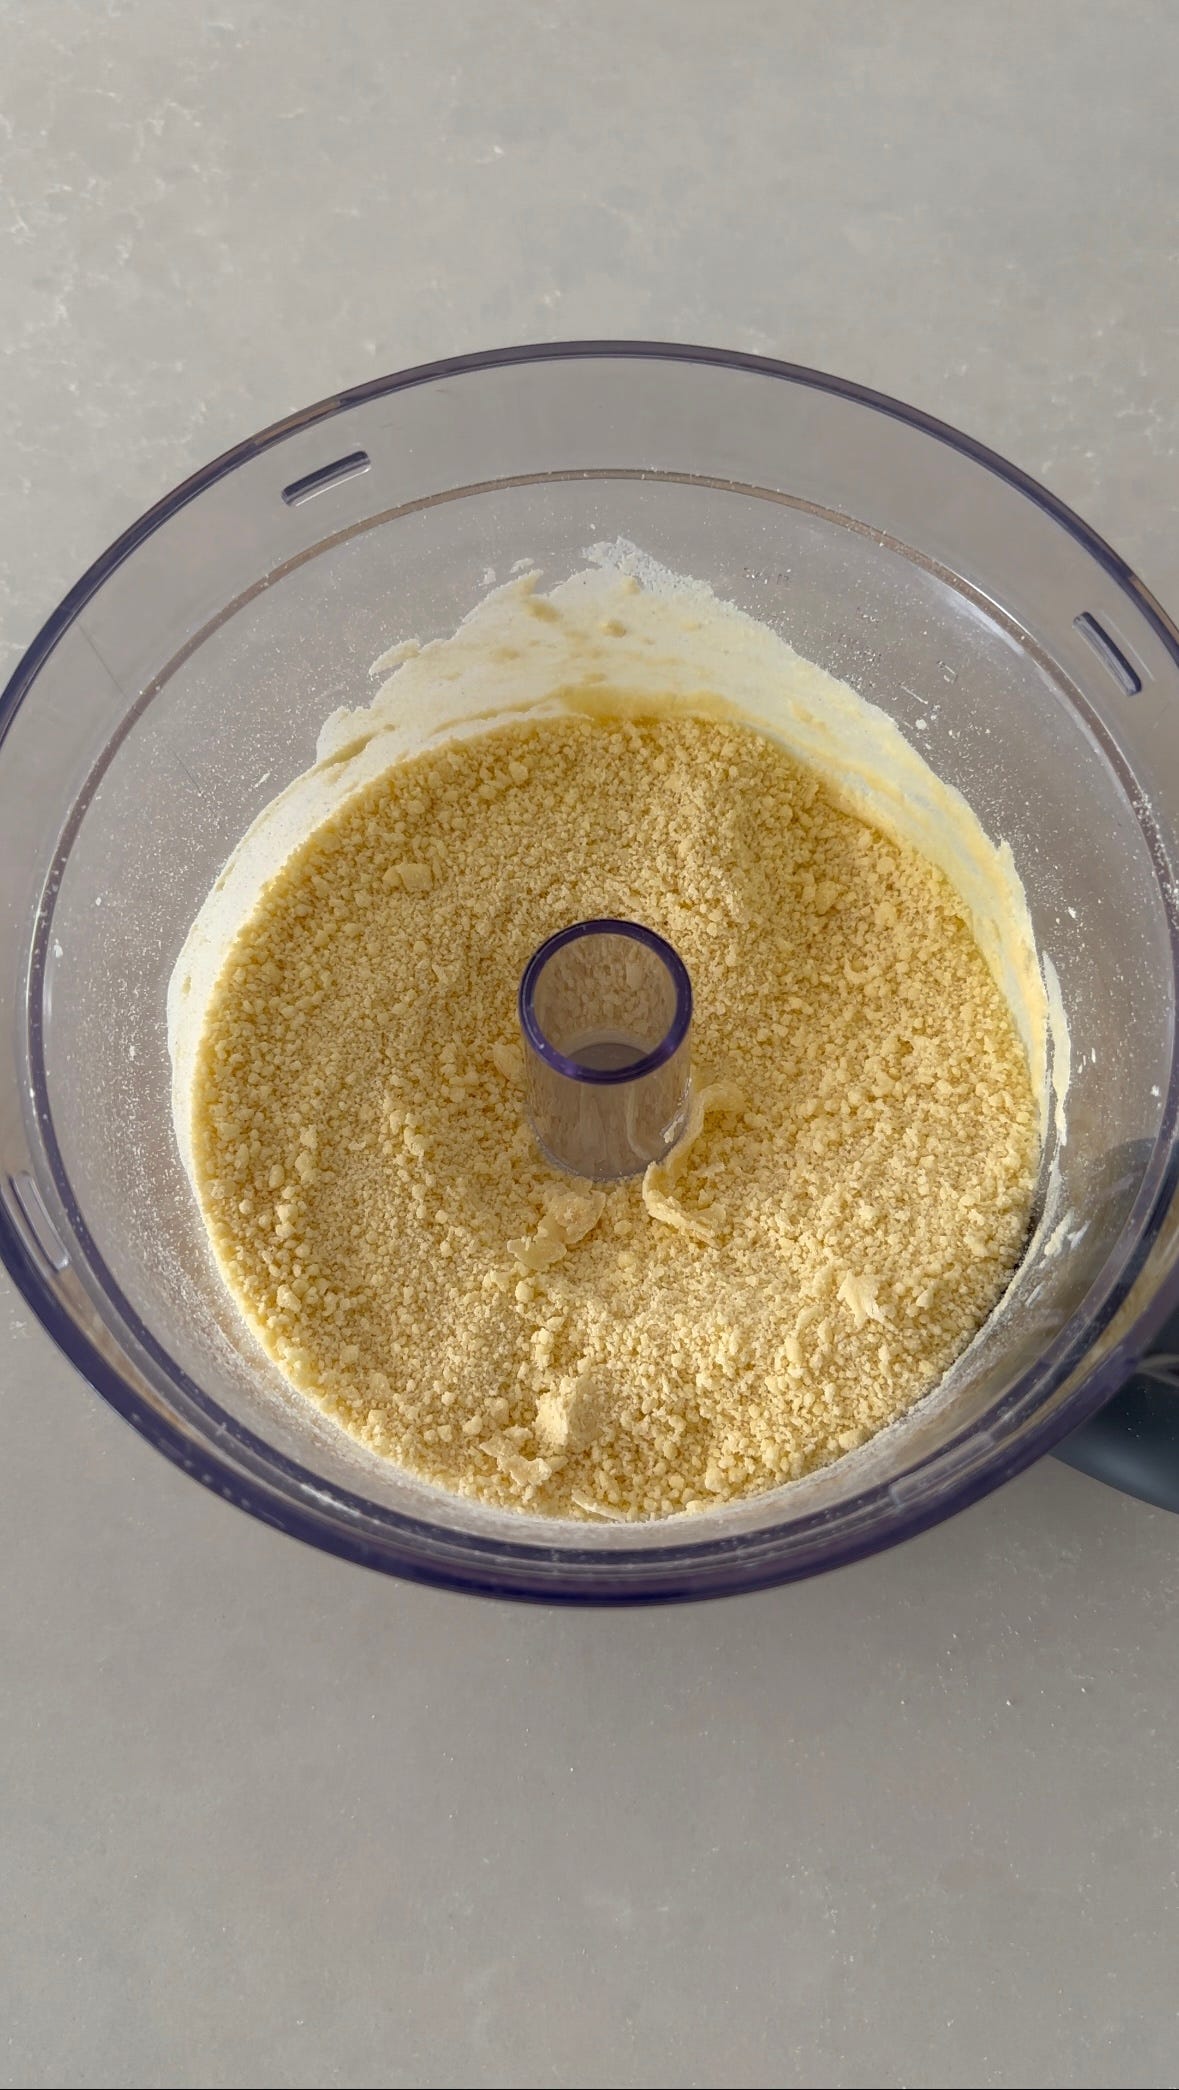
Step one: mix together the flour and water
In a food processor, add the flour then drizzle in the water. Pulse multiple times until you have a sand-like consistency.
If you don’t have a food processor you can replicate the first step by mixing the flour and water together in a bowl with a fork until you have this consistency.
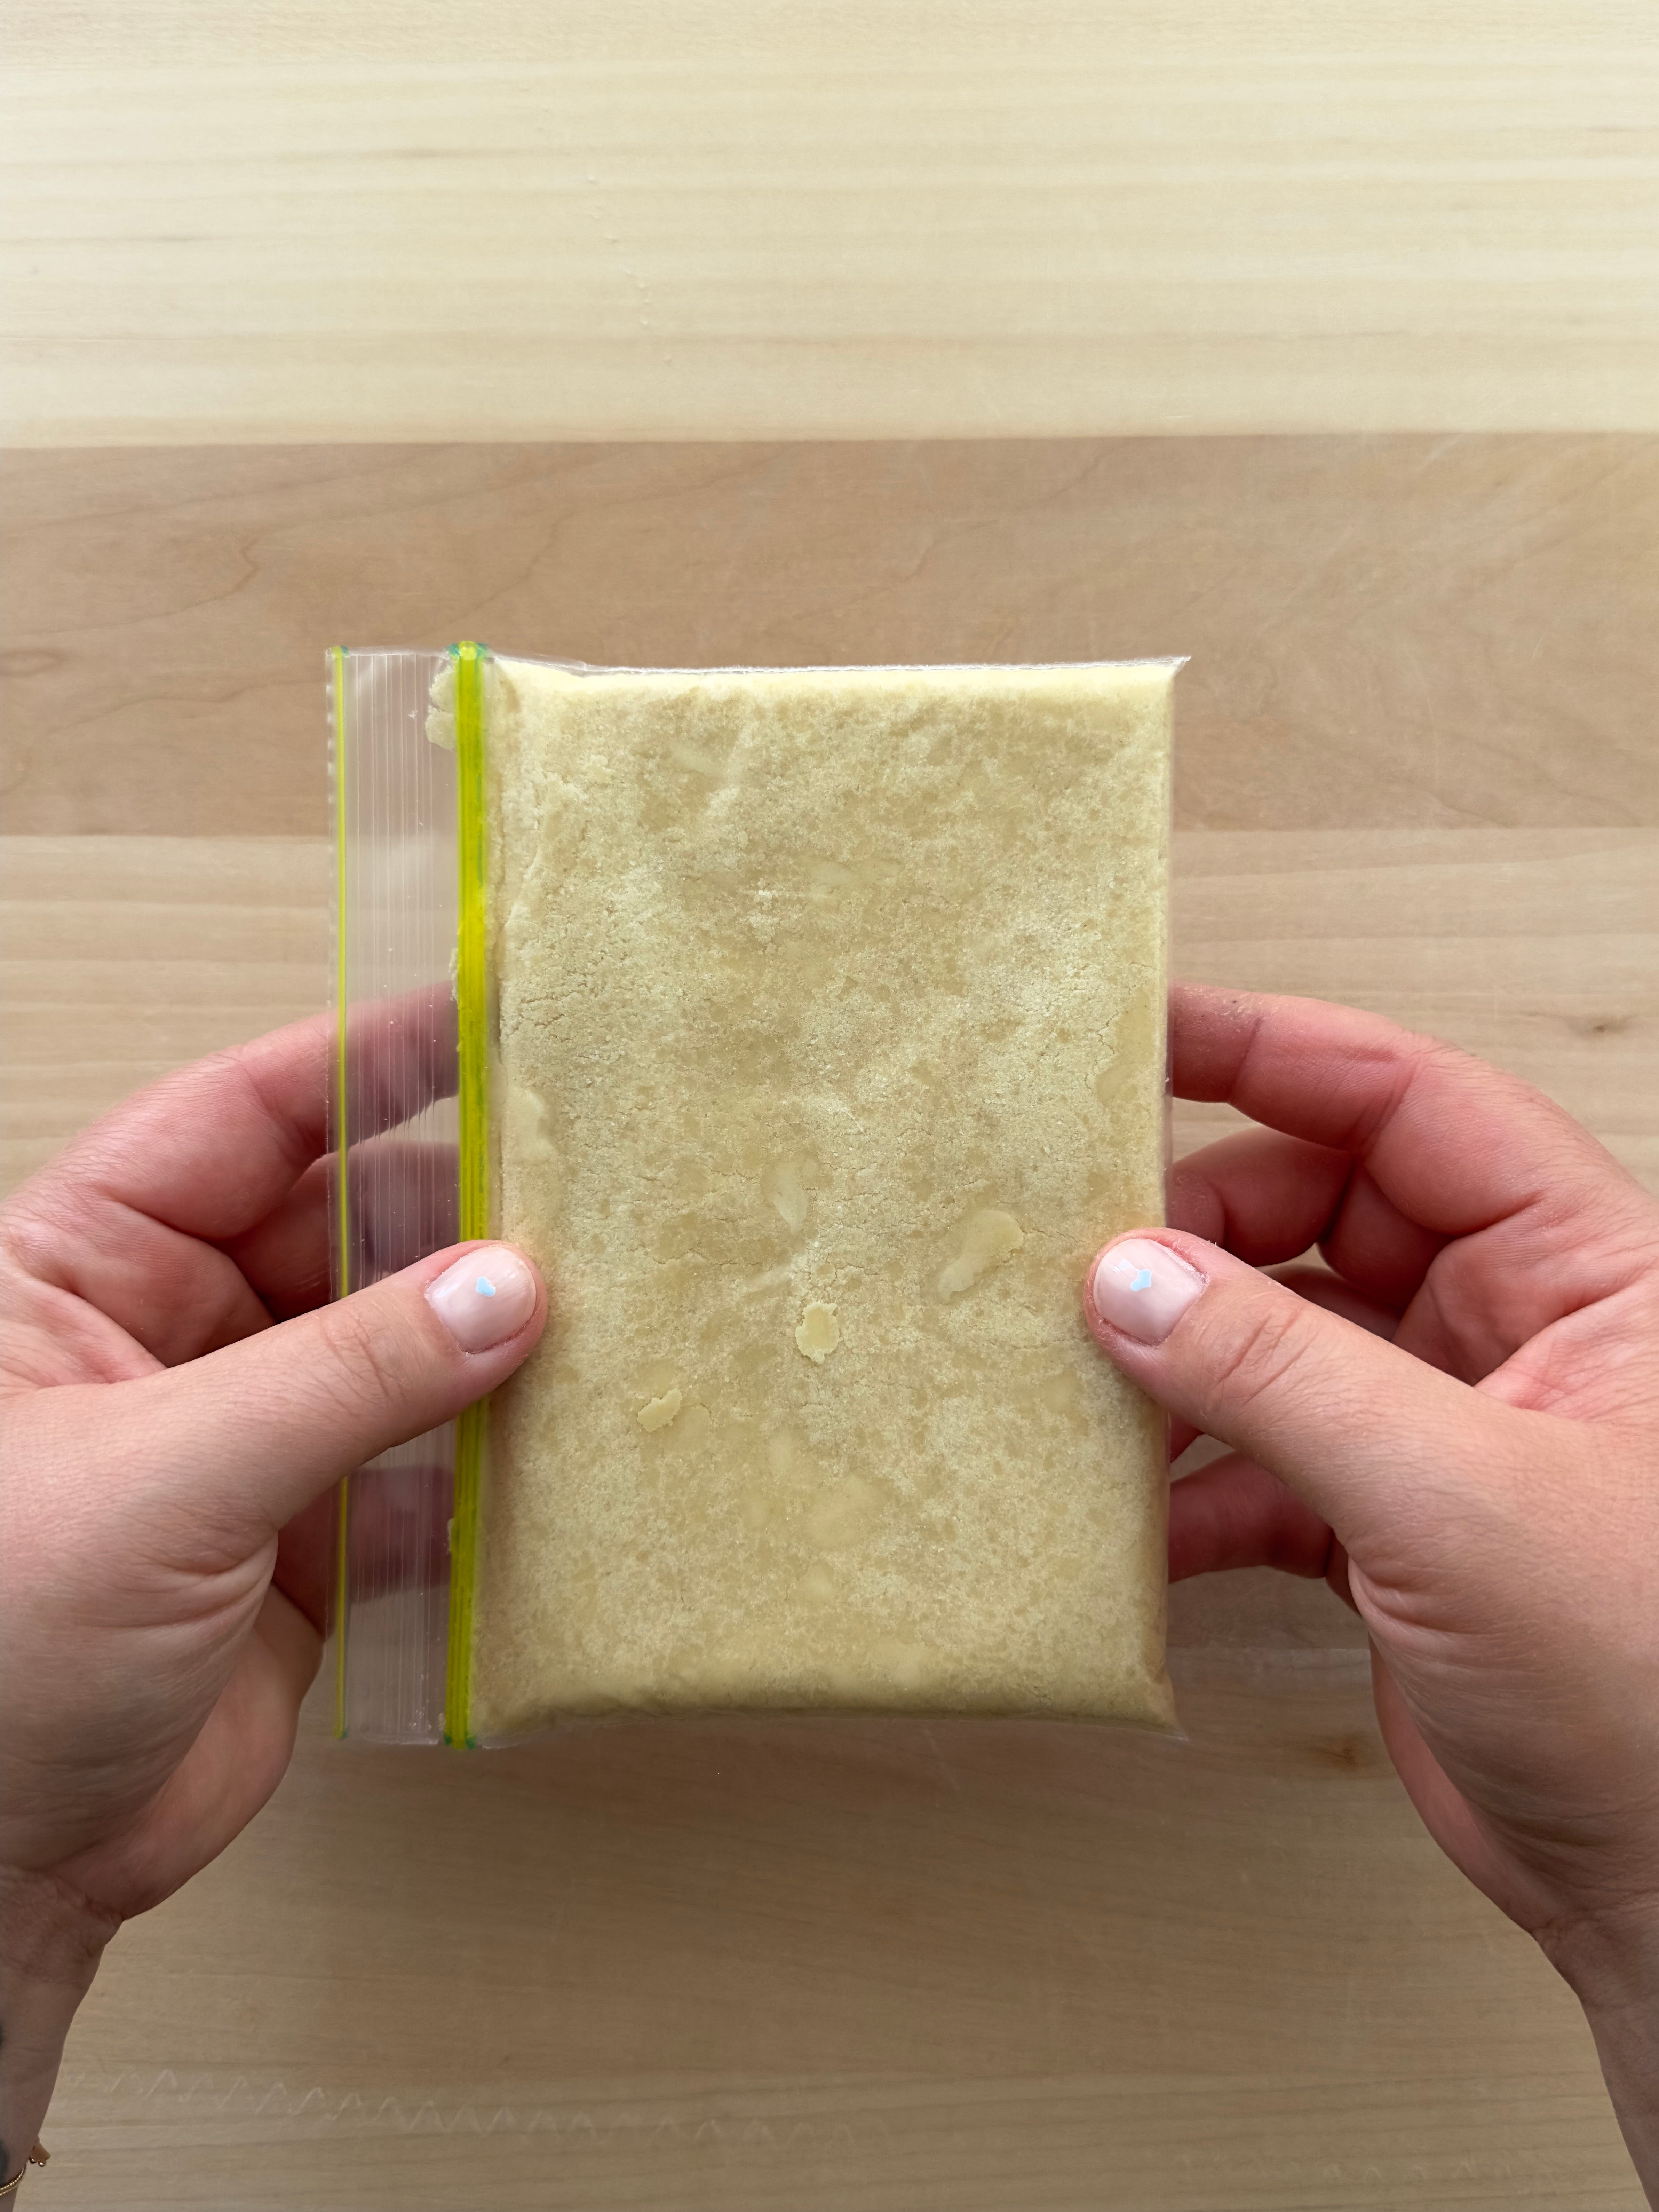
Step two: place the sandy dough in a ziplock bag
As it sounds above, place the crumbs into a ziplock back and seal shut, trying to remove as much air as possible. Use a rolling pin to help smooth the dough into a tight parcel. Please note I ran out of large bags and had to use multiple snack sized bags - you can use one large one, or split the dough up as I did.
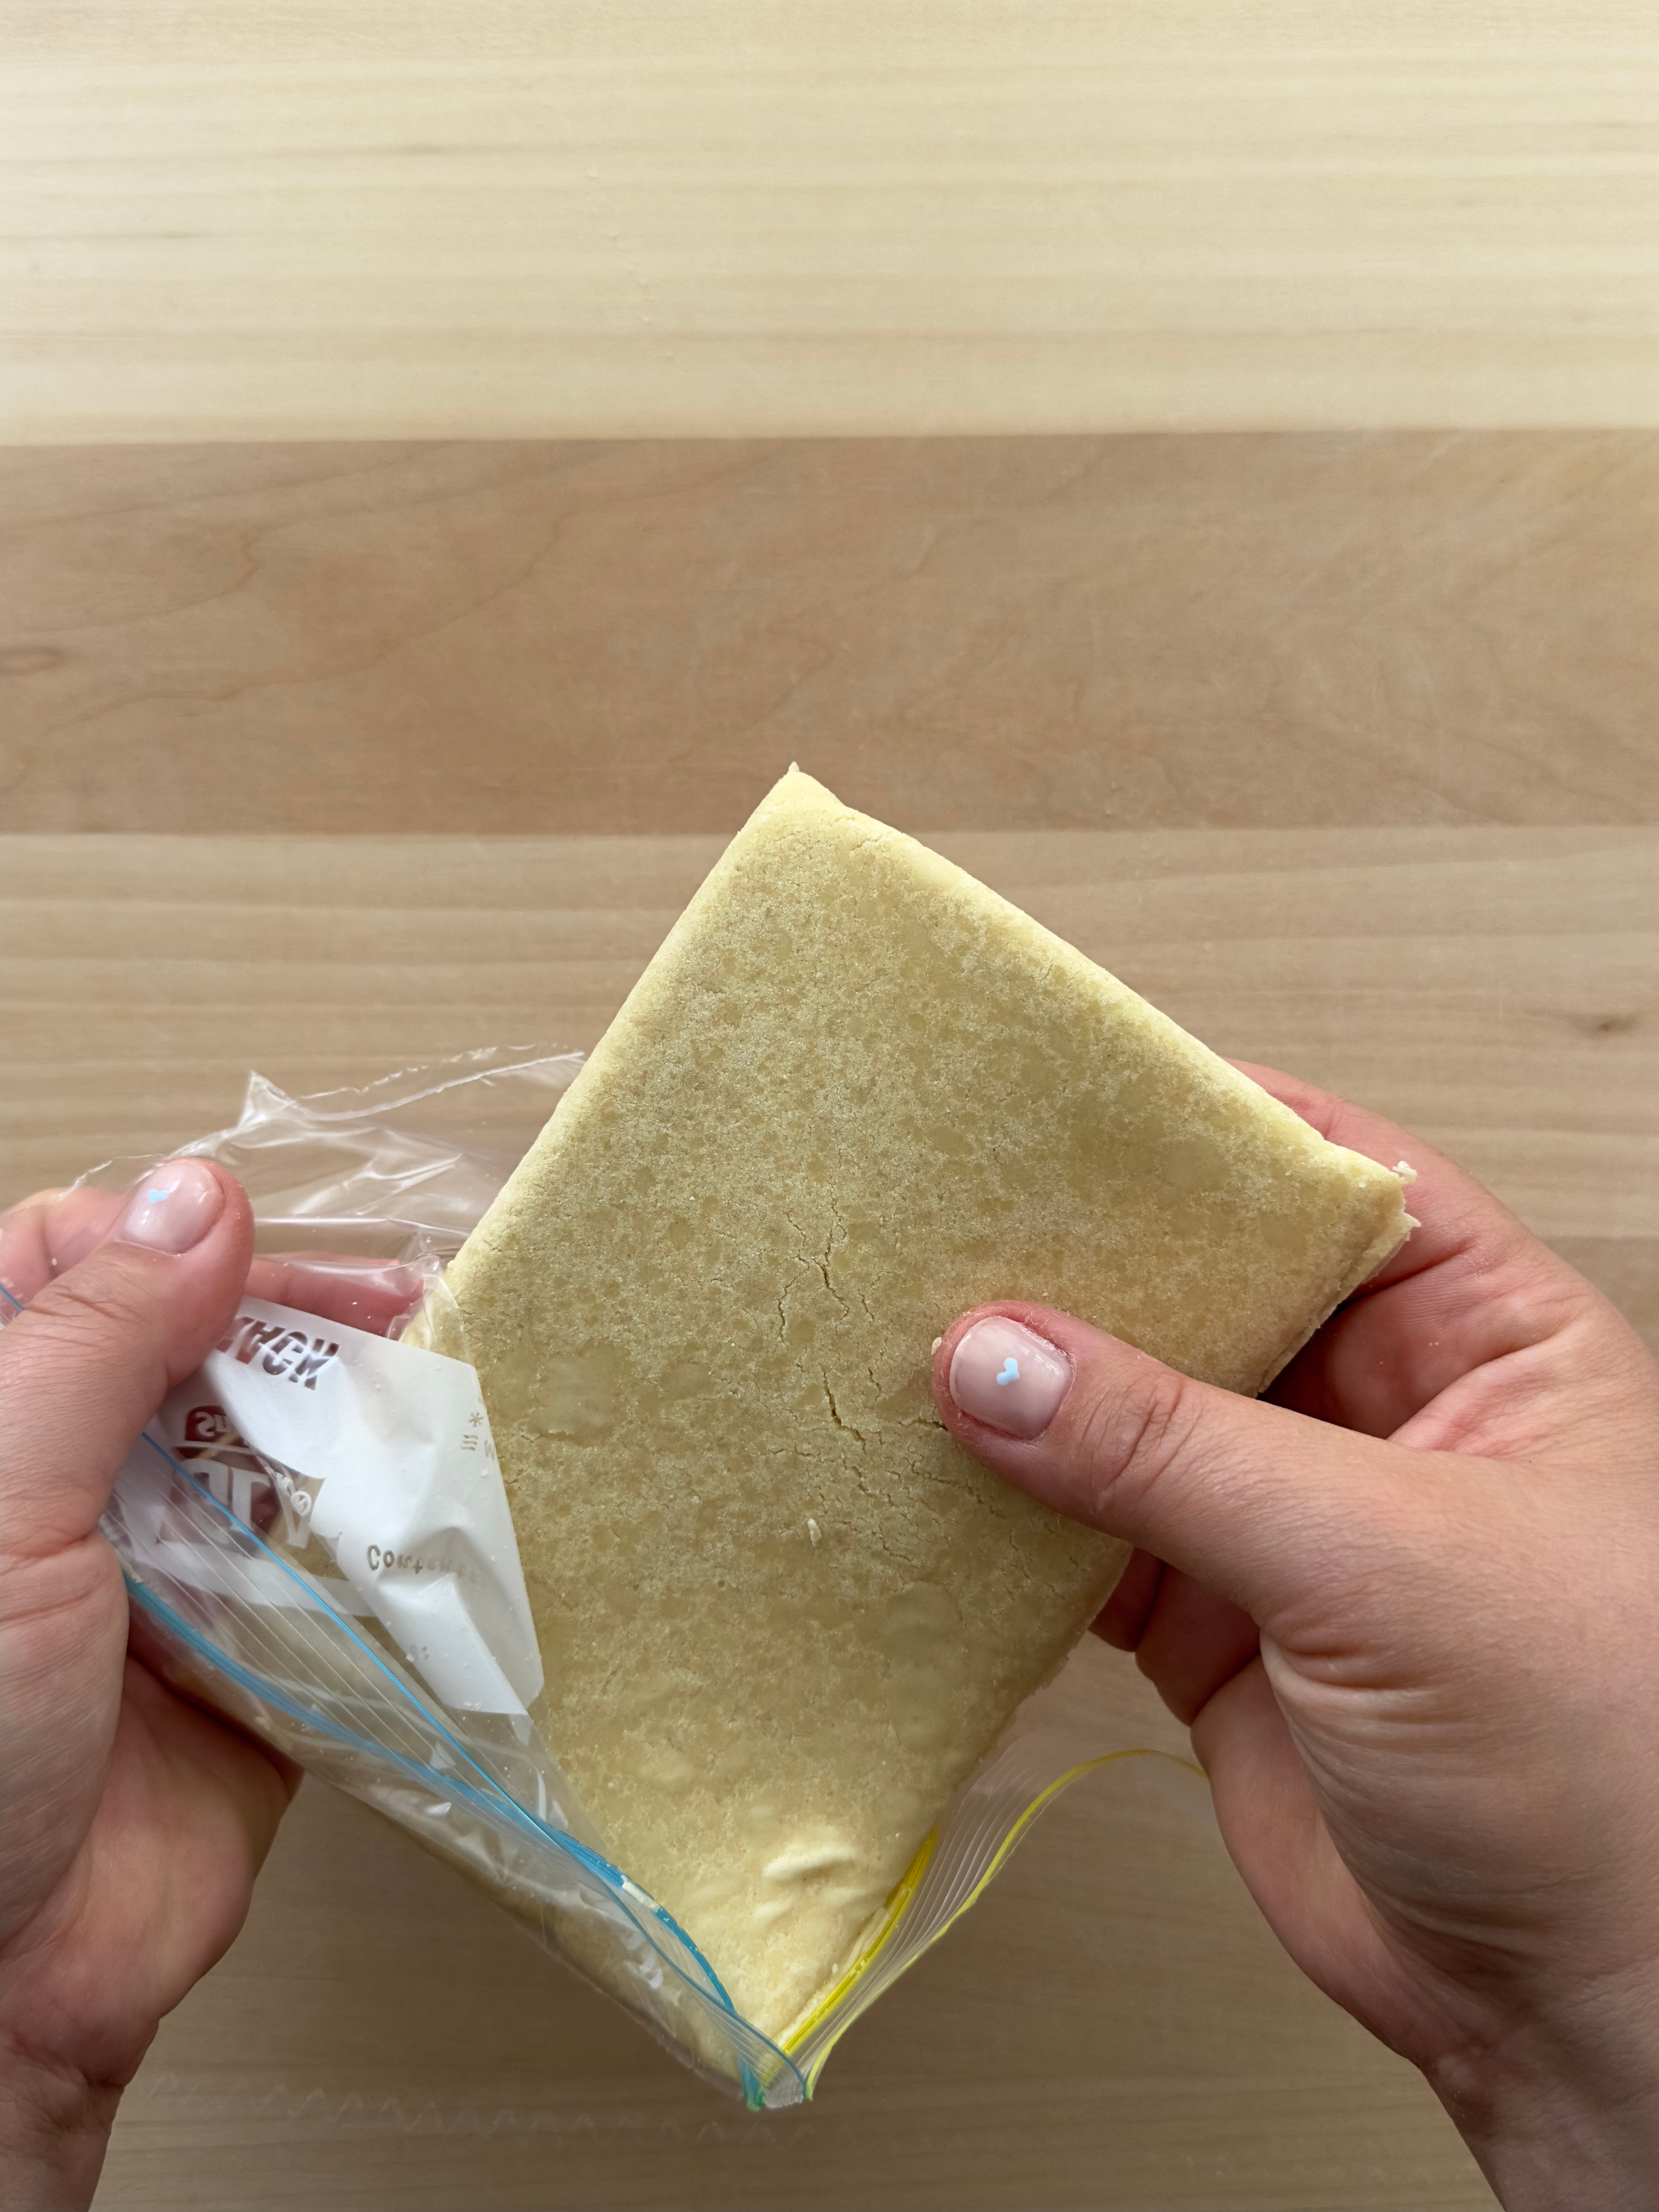
Step three: rest to rehydrate
Rest the dough in the ziplock bag for 1-1.5 hours. I know this is a long time but it allows the flour to absorb as much of that water as possible and make this dough easy to work with.
After resting, remove the dough from the bag, scrunch it up into a ball and give it a quick and superficial knead just to ensure you won’t have a crumbly mess when passing it through the machine. I did test running the little slab of dough directly through the machine, and it crumbled into pieces. So this step just ensures you can pass it through the machine no problemo.

Step four: flatten the dough before passing through the machine
This just helps make it a bit easier to get through that first pass.

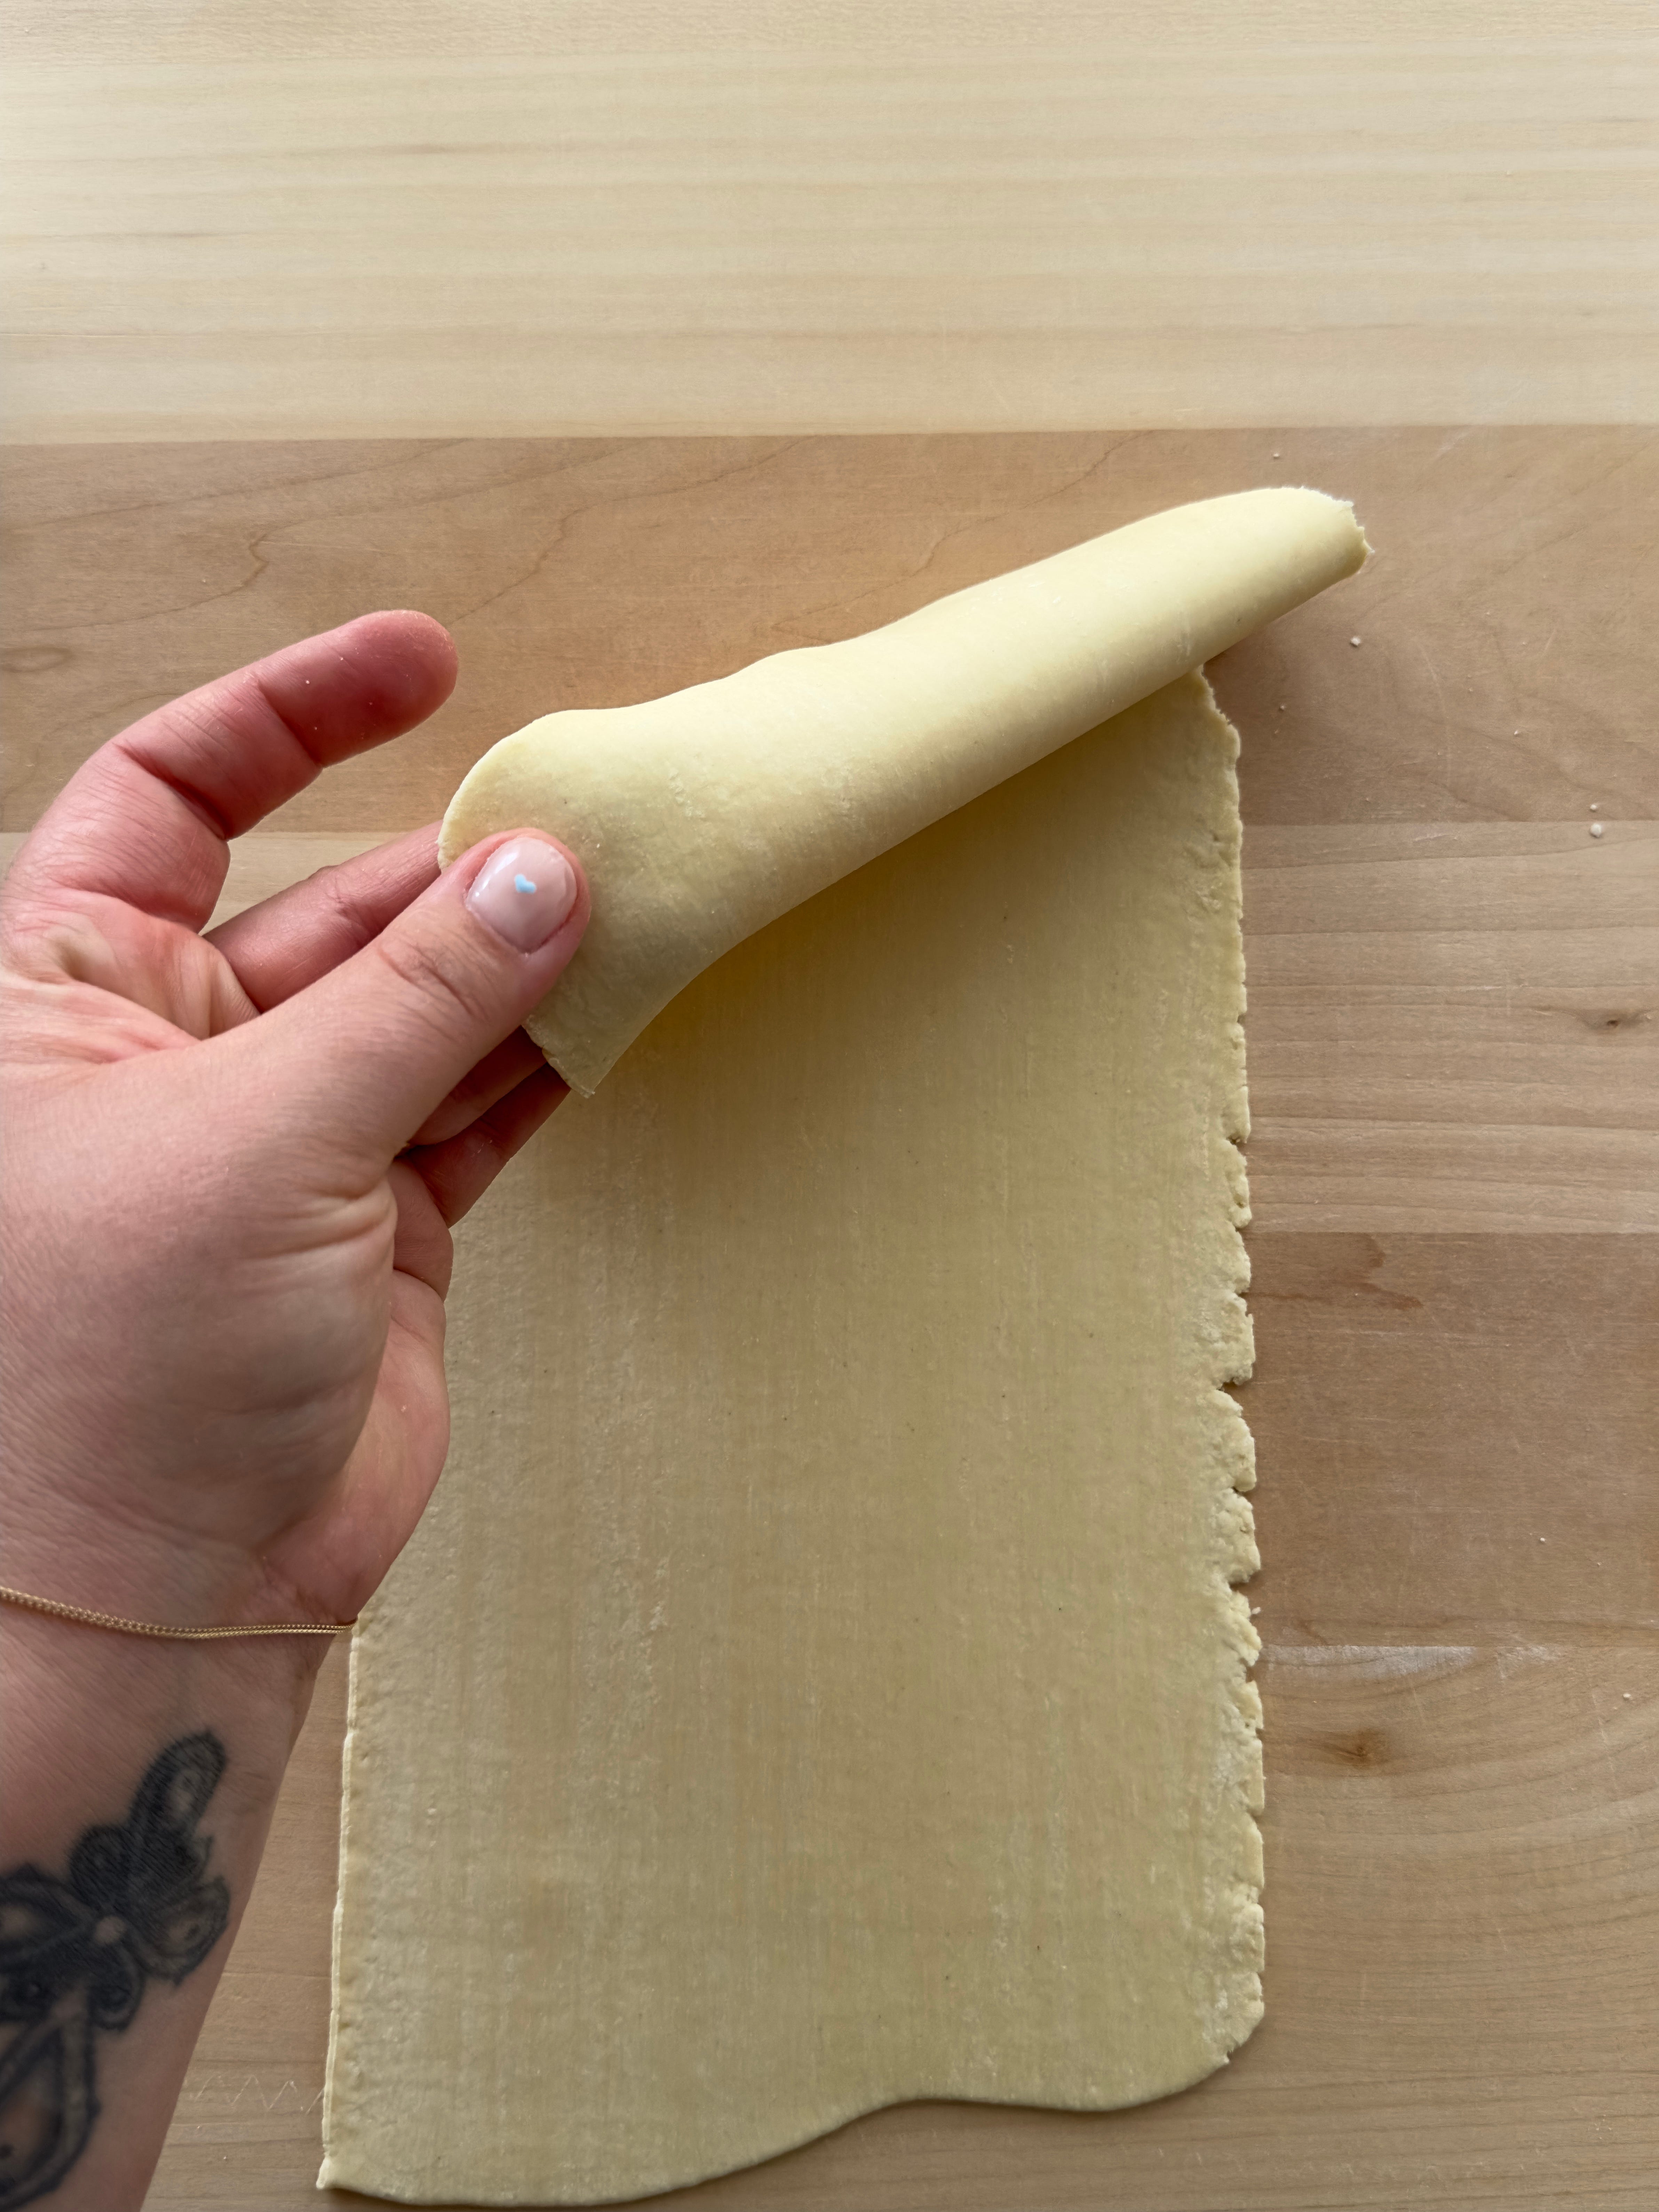
Step five: pass the dough through the sheeter
We want to run it through the widest setting, folding it in half after after the pass before running through again. Repeat this step multiple times until you have a smooth and uniform sheet of dough that fits the width of your machine.

Step six: time to make spaghetti!
Continue rolling the sheet through settings until you reach setting 3.
Allow the sheet to dry for 10 minutes before passing through the spaghetti cutting attachment.
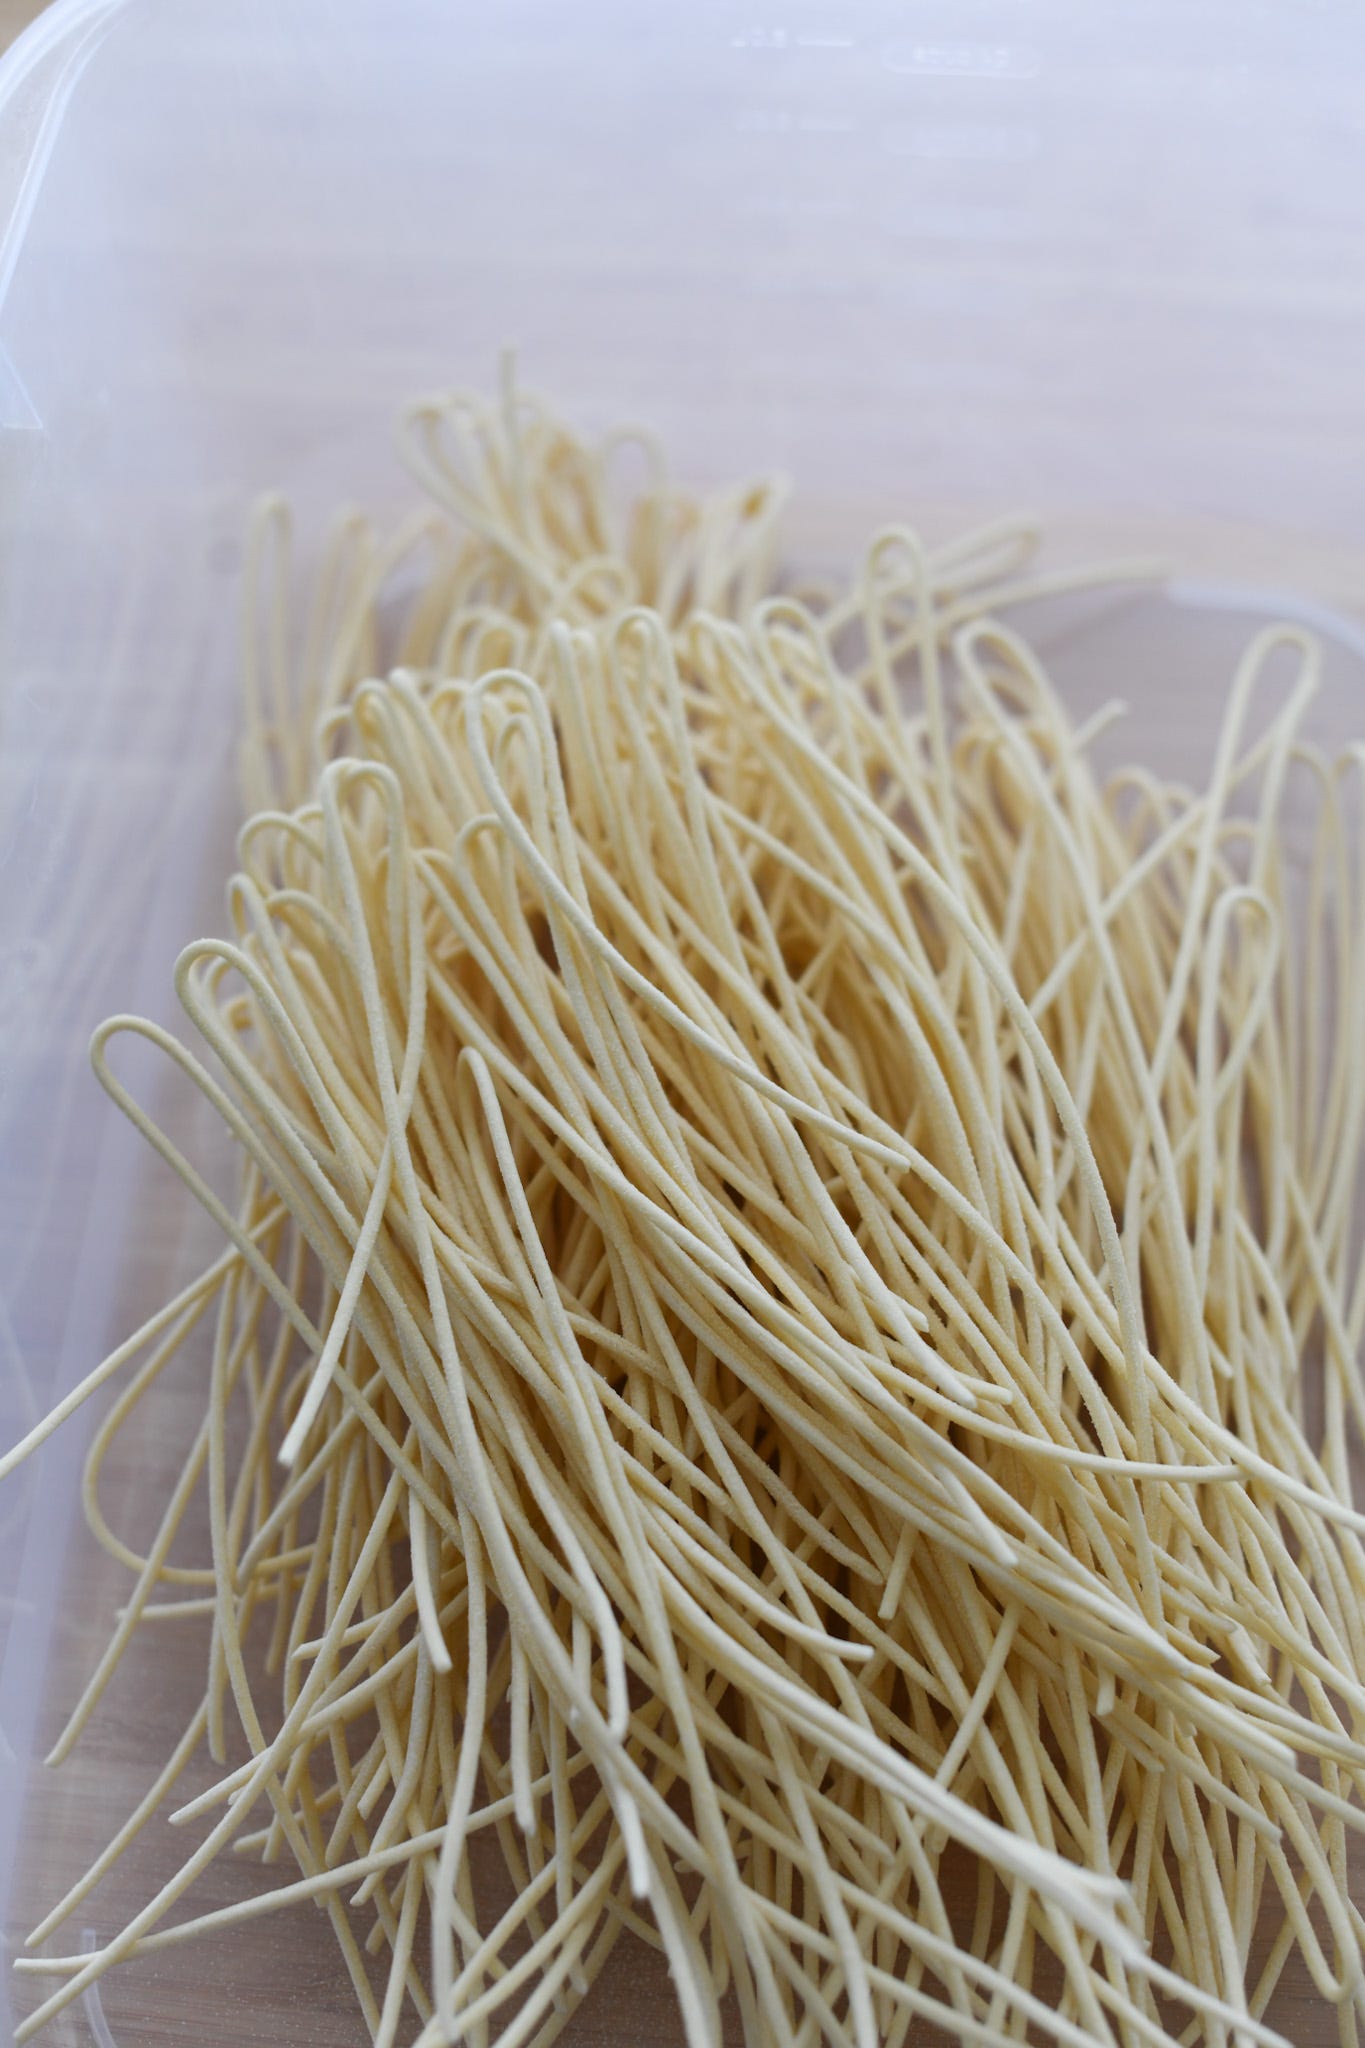
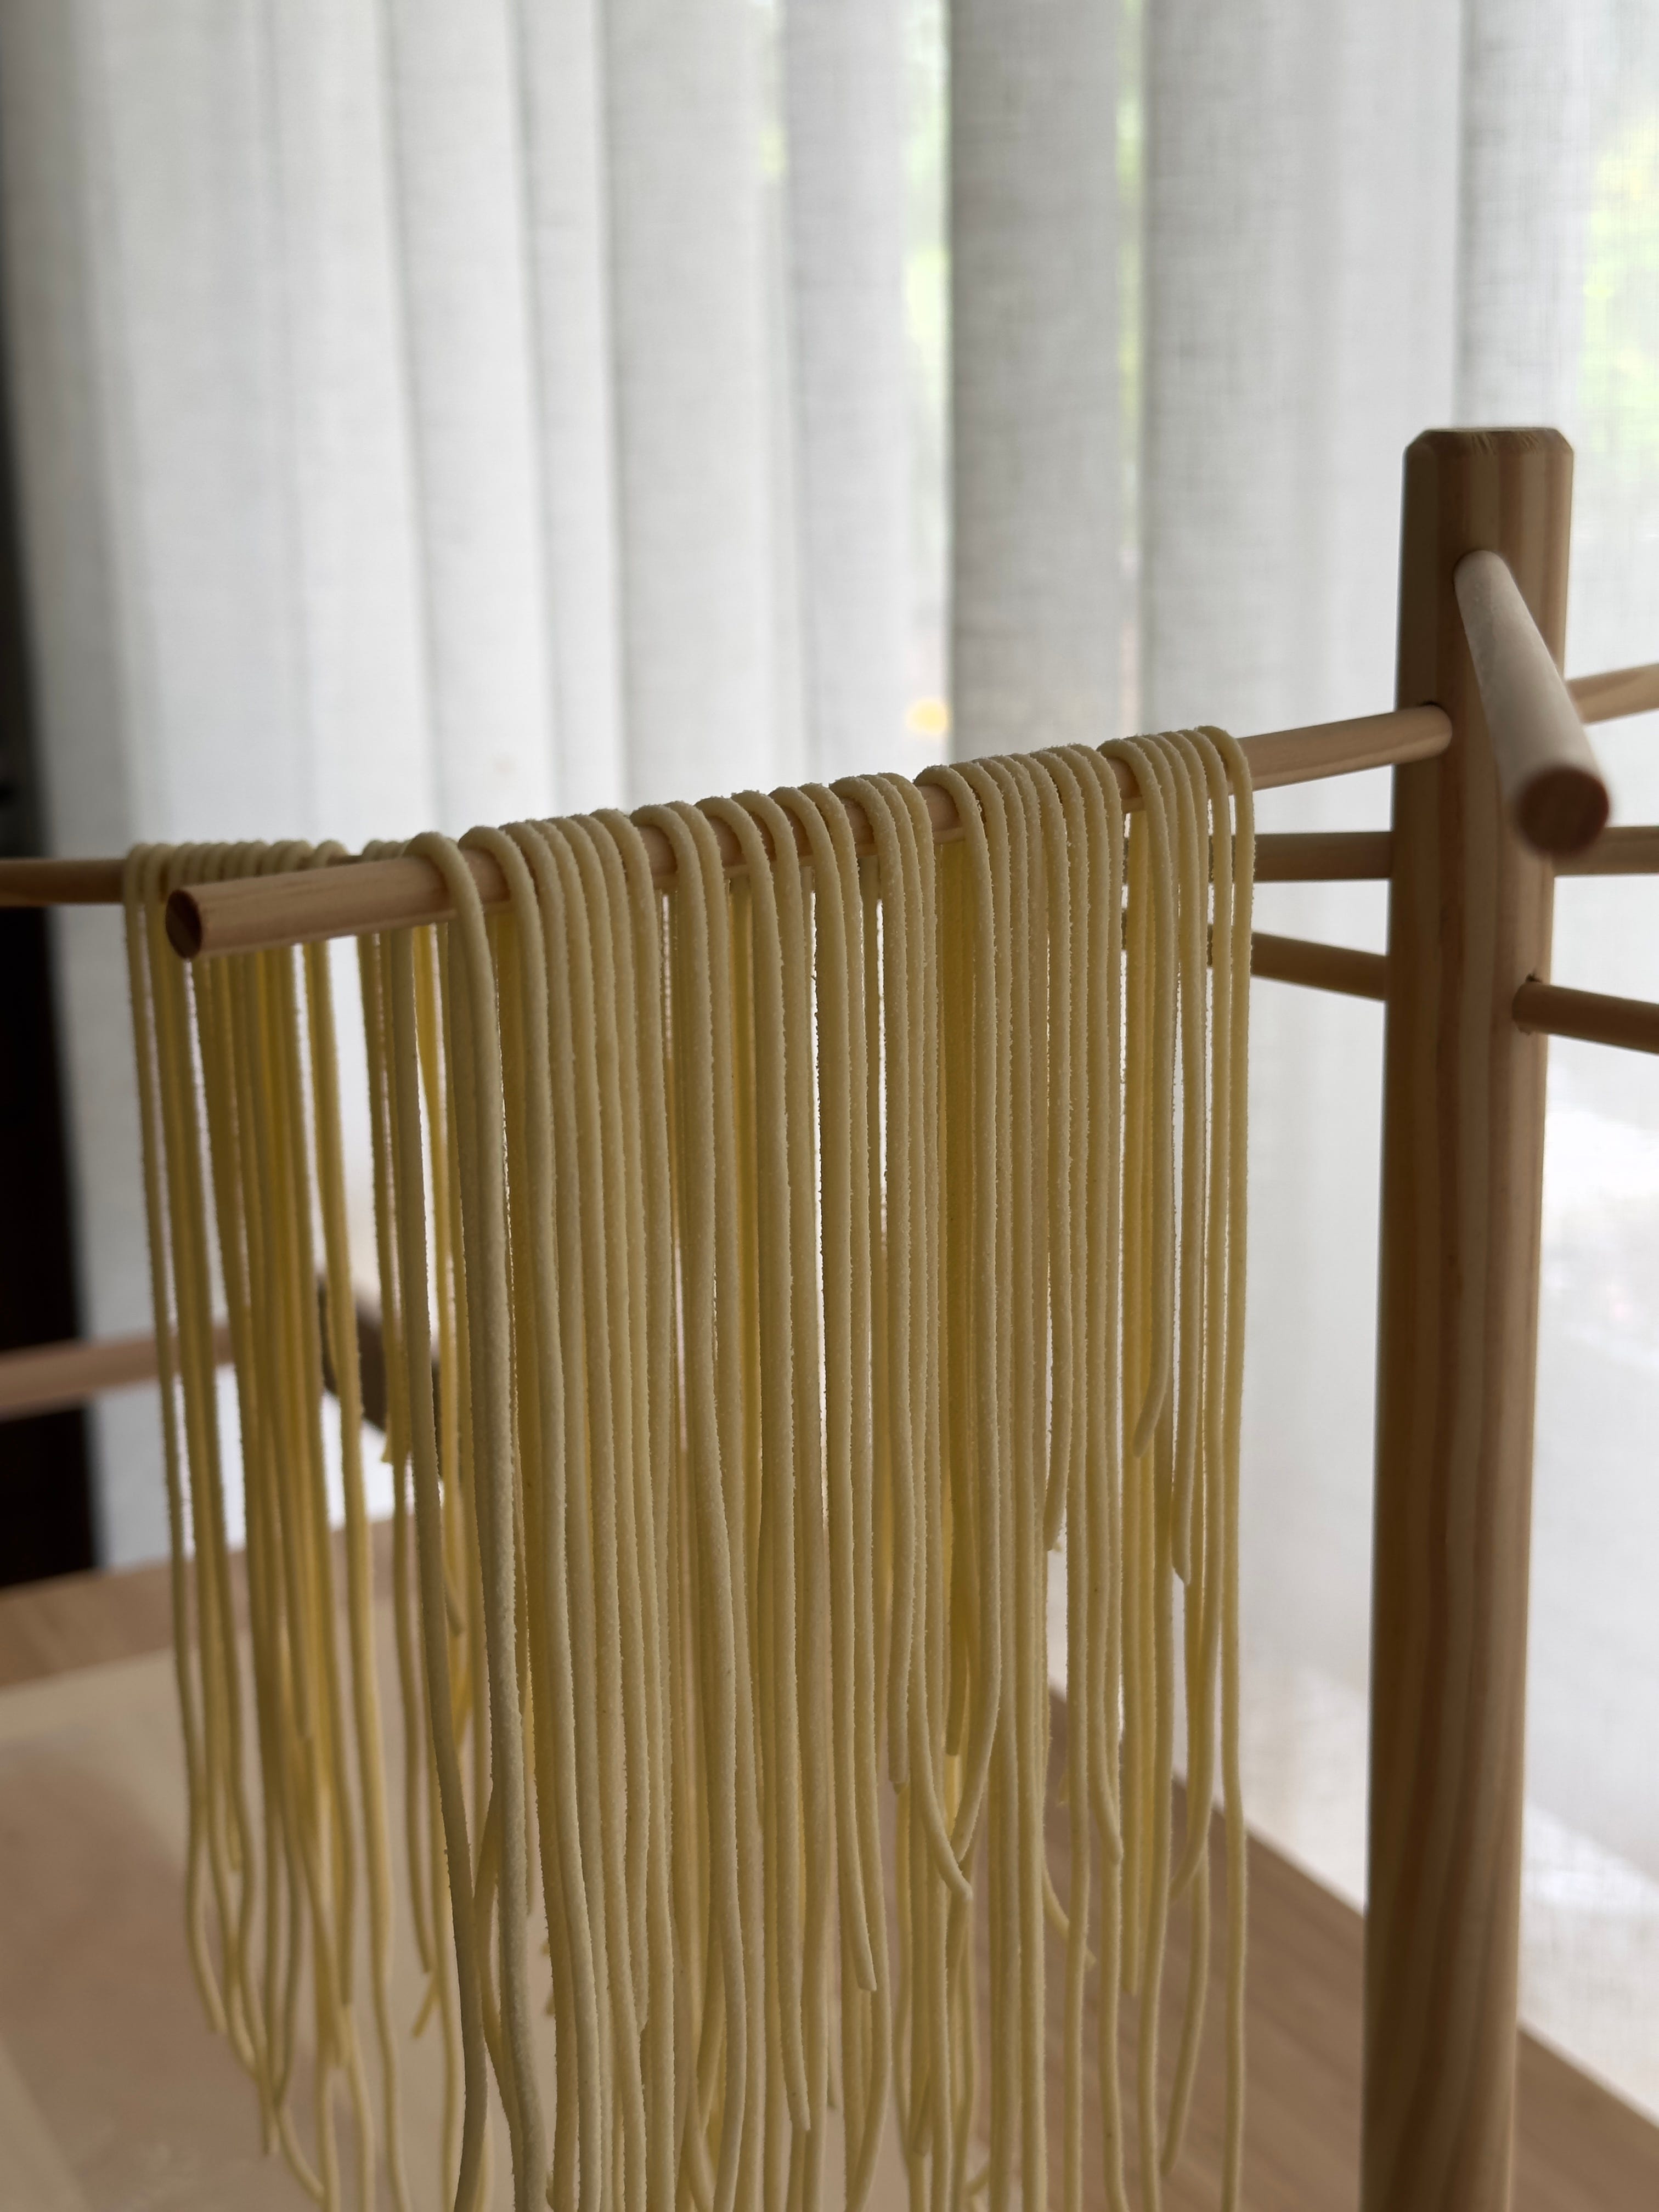
Step seven: drying the spaghetti
Dust the spaghetti with fine semolina or semolina flour.
Hang the strands on a drying rack (or you can simply use a wire coat hanger!). Allow to dry for a min of one hour but preferably overnight.

NB: once the pasta is completely dry (24-48 hours), you can store it long term in an airtight container in the pantry. Use within a few months! Please note that any damp spots WILL develop mould if you try to store it before it’s totally dry.
The Recipe
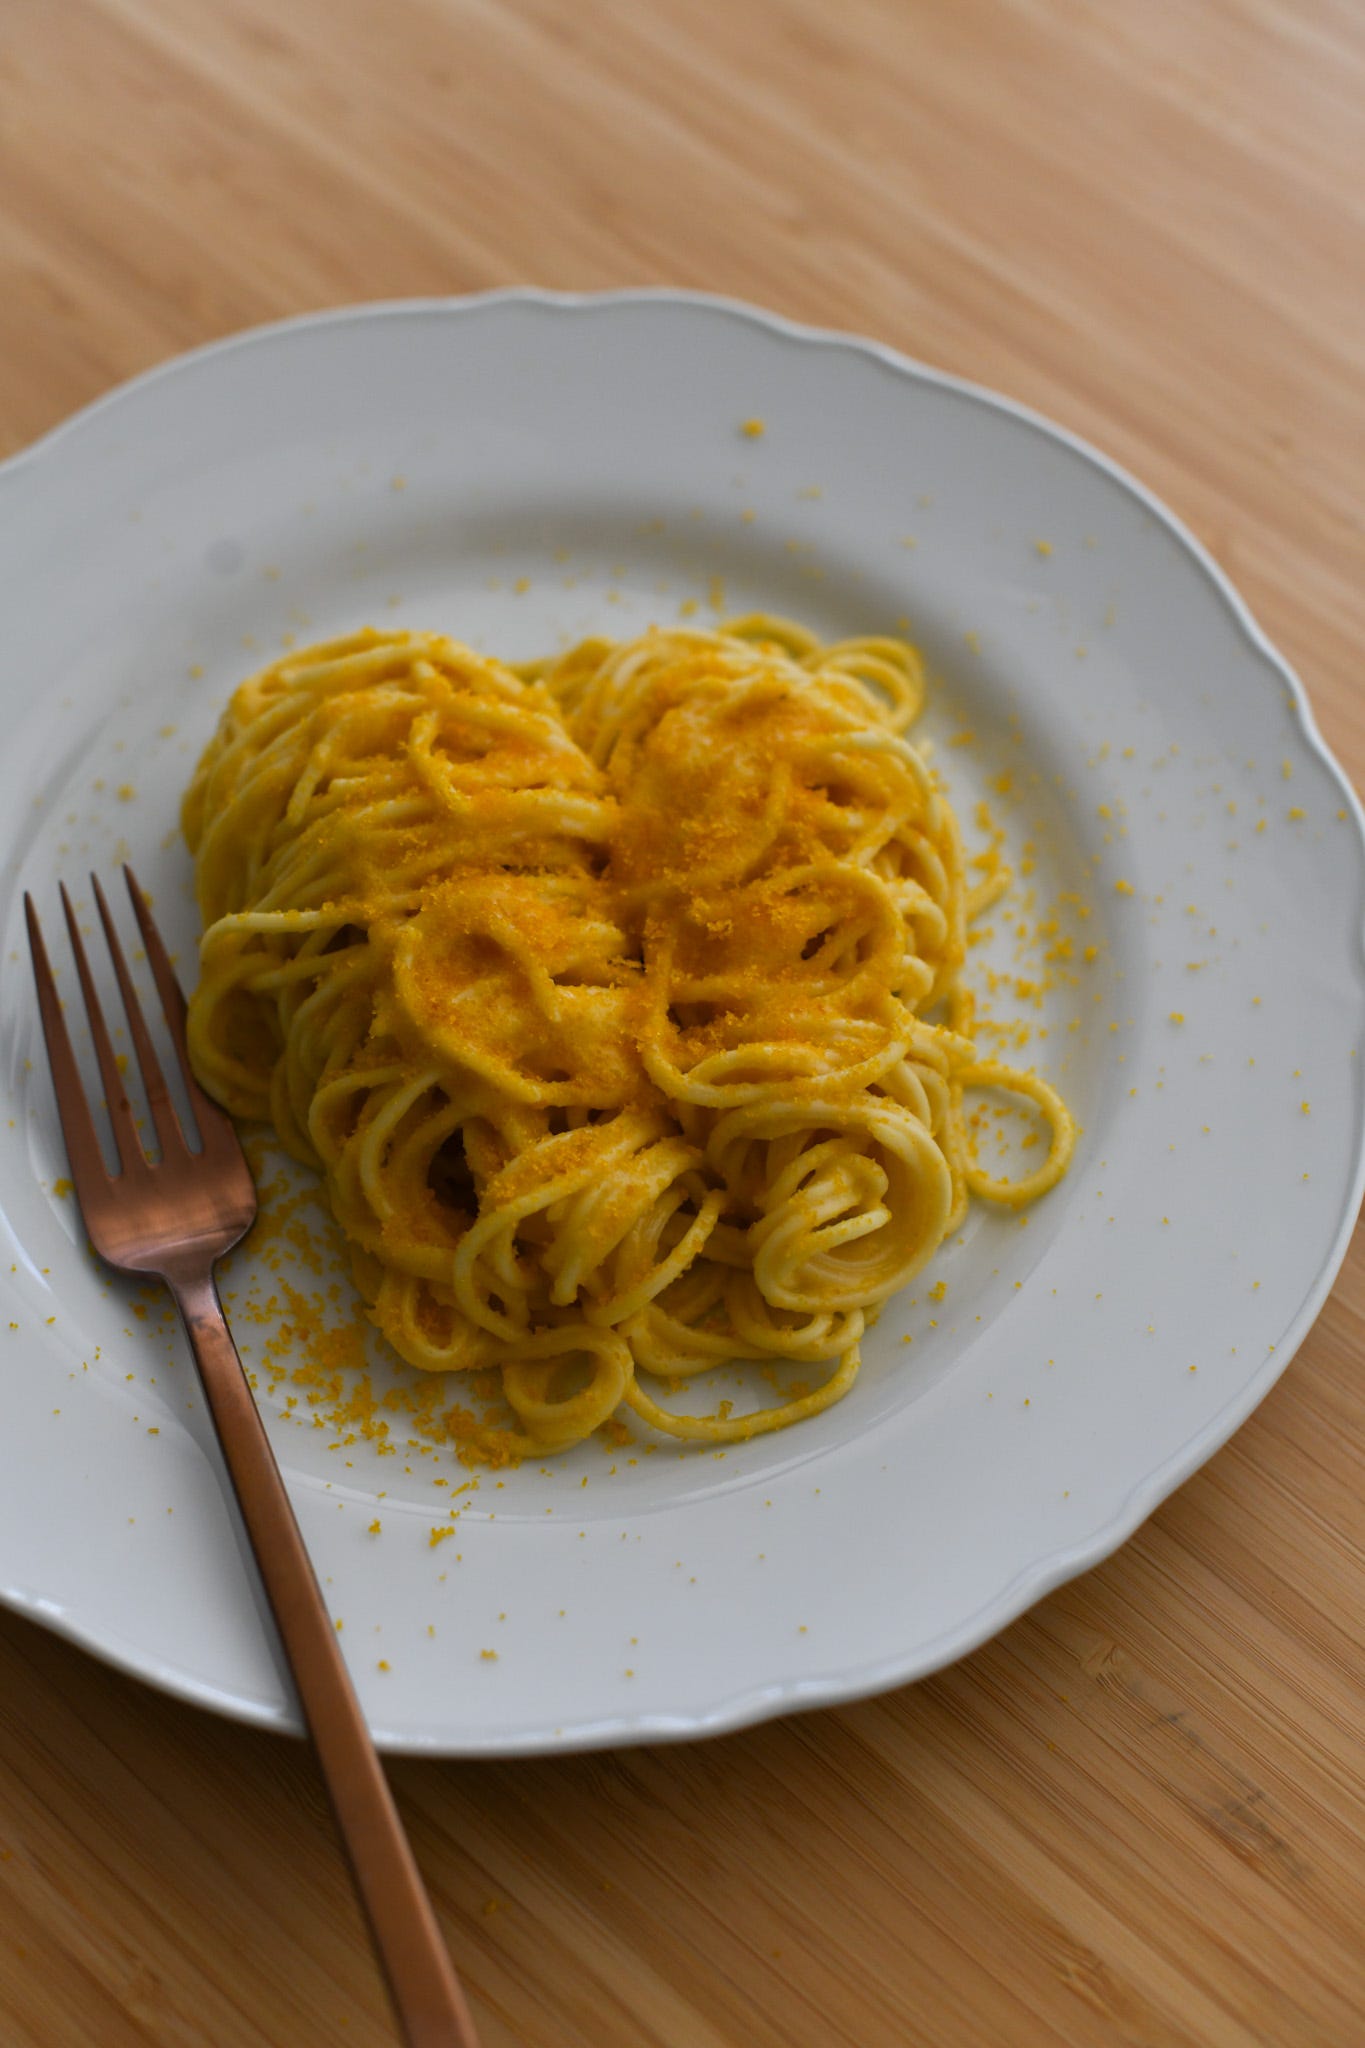
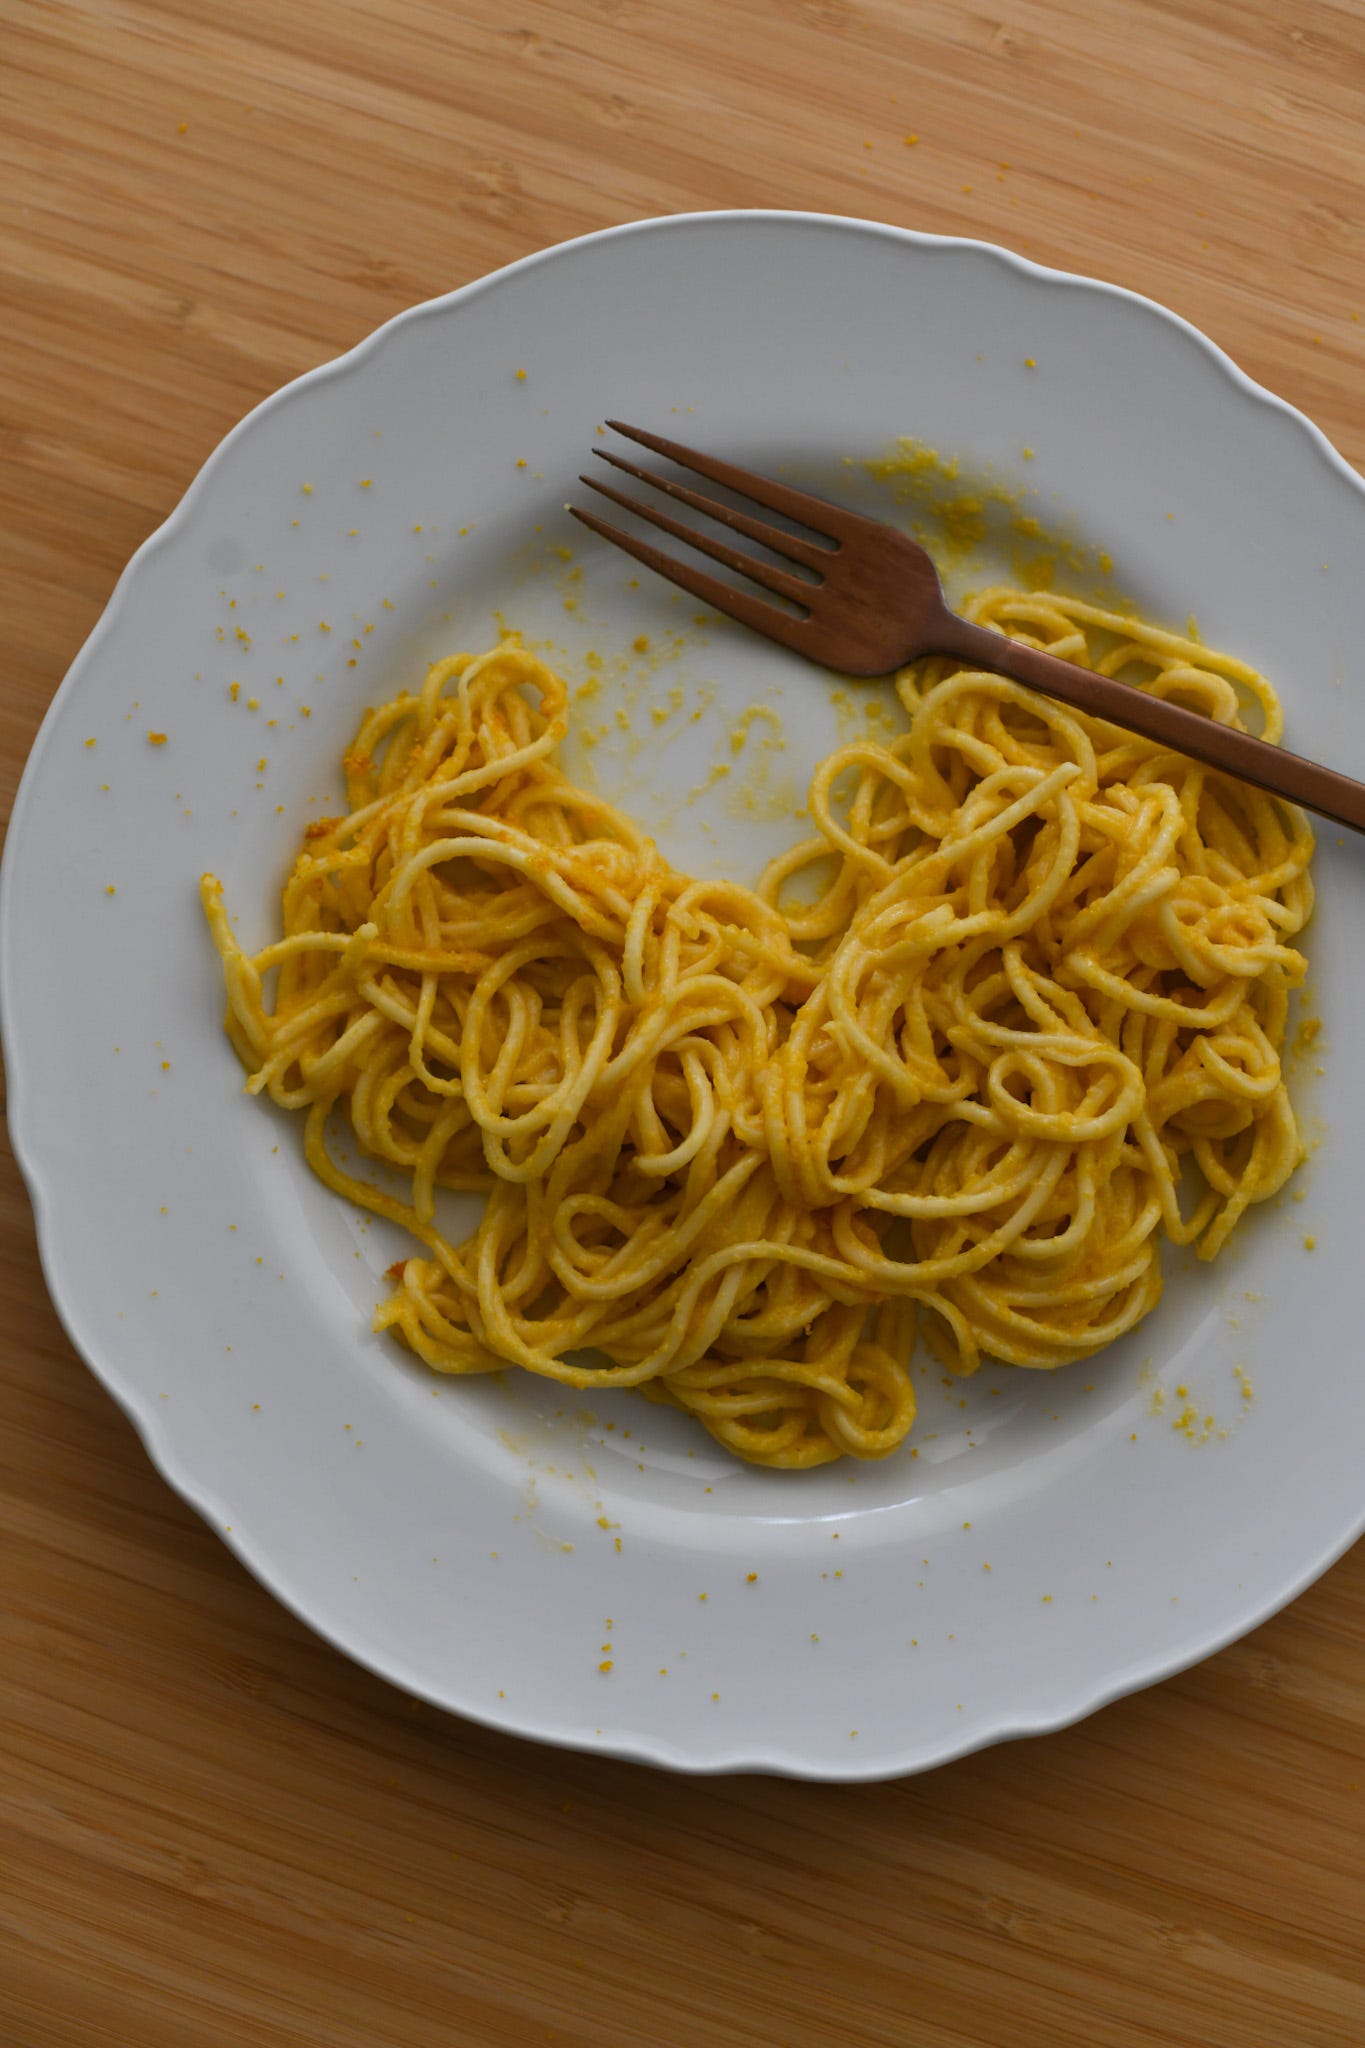
This is such a gorgeously simple sauce, perfect for spaghetti. I love bottarga, which is a cured fish roe pouch, commonly available as mullet (muggine, in Italian) - it works so beautifully in a pasta sauce or simply used as a garnish! This recipe is a take on spaghetti con la bottarga, but using a beurre monté sauce as a base. You peel off the thin membrane from the bottarga before grating and adding to the butter sauce - it sort of melts into it and creates this delightfully creamy, salty sauce.
Ingredients
275g spaghetti, as above
1/4 cup water
100g unsalted butter, cold, cut into small cubes
~50g bottarga fillet, film-like membrane removed and finely grated using a microplane. Plus save a little knob to grate over the pasta at the end
Method
Bring a large pot of water to a rolling boil, season generously with salt, and begin cooking the spaghetti.
Meanwhile, add a 1/4 cup of cold water to a large frying or sauté pan over a medium heat.
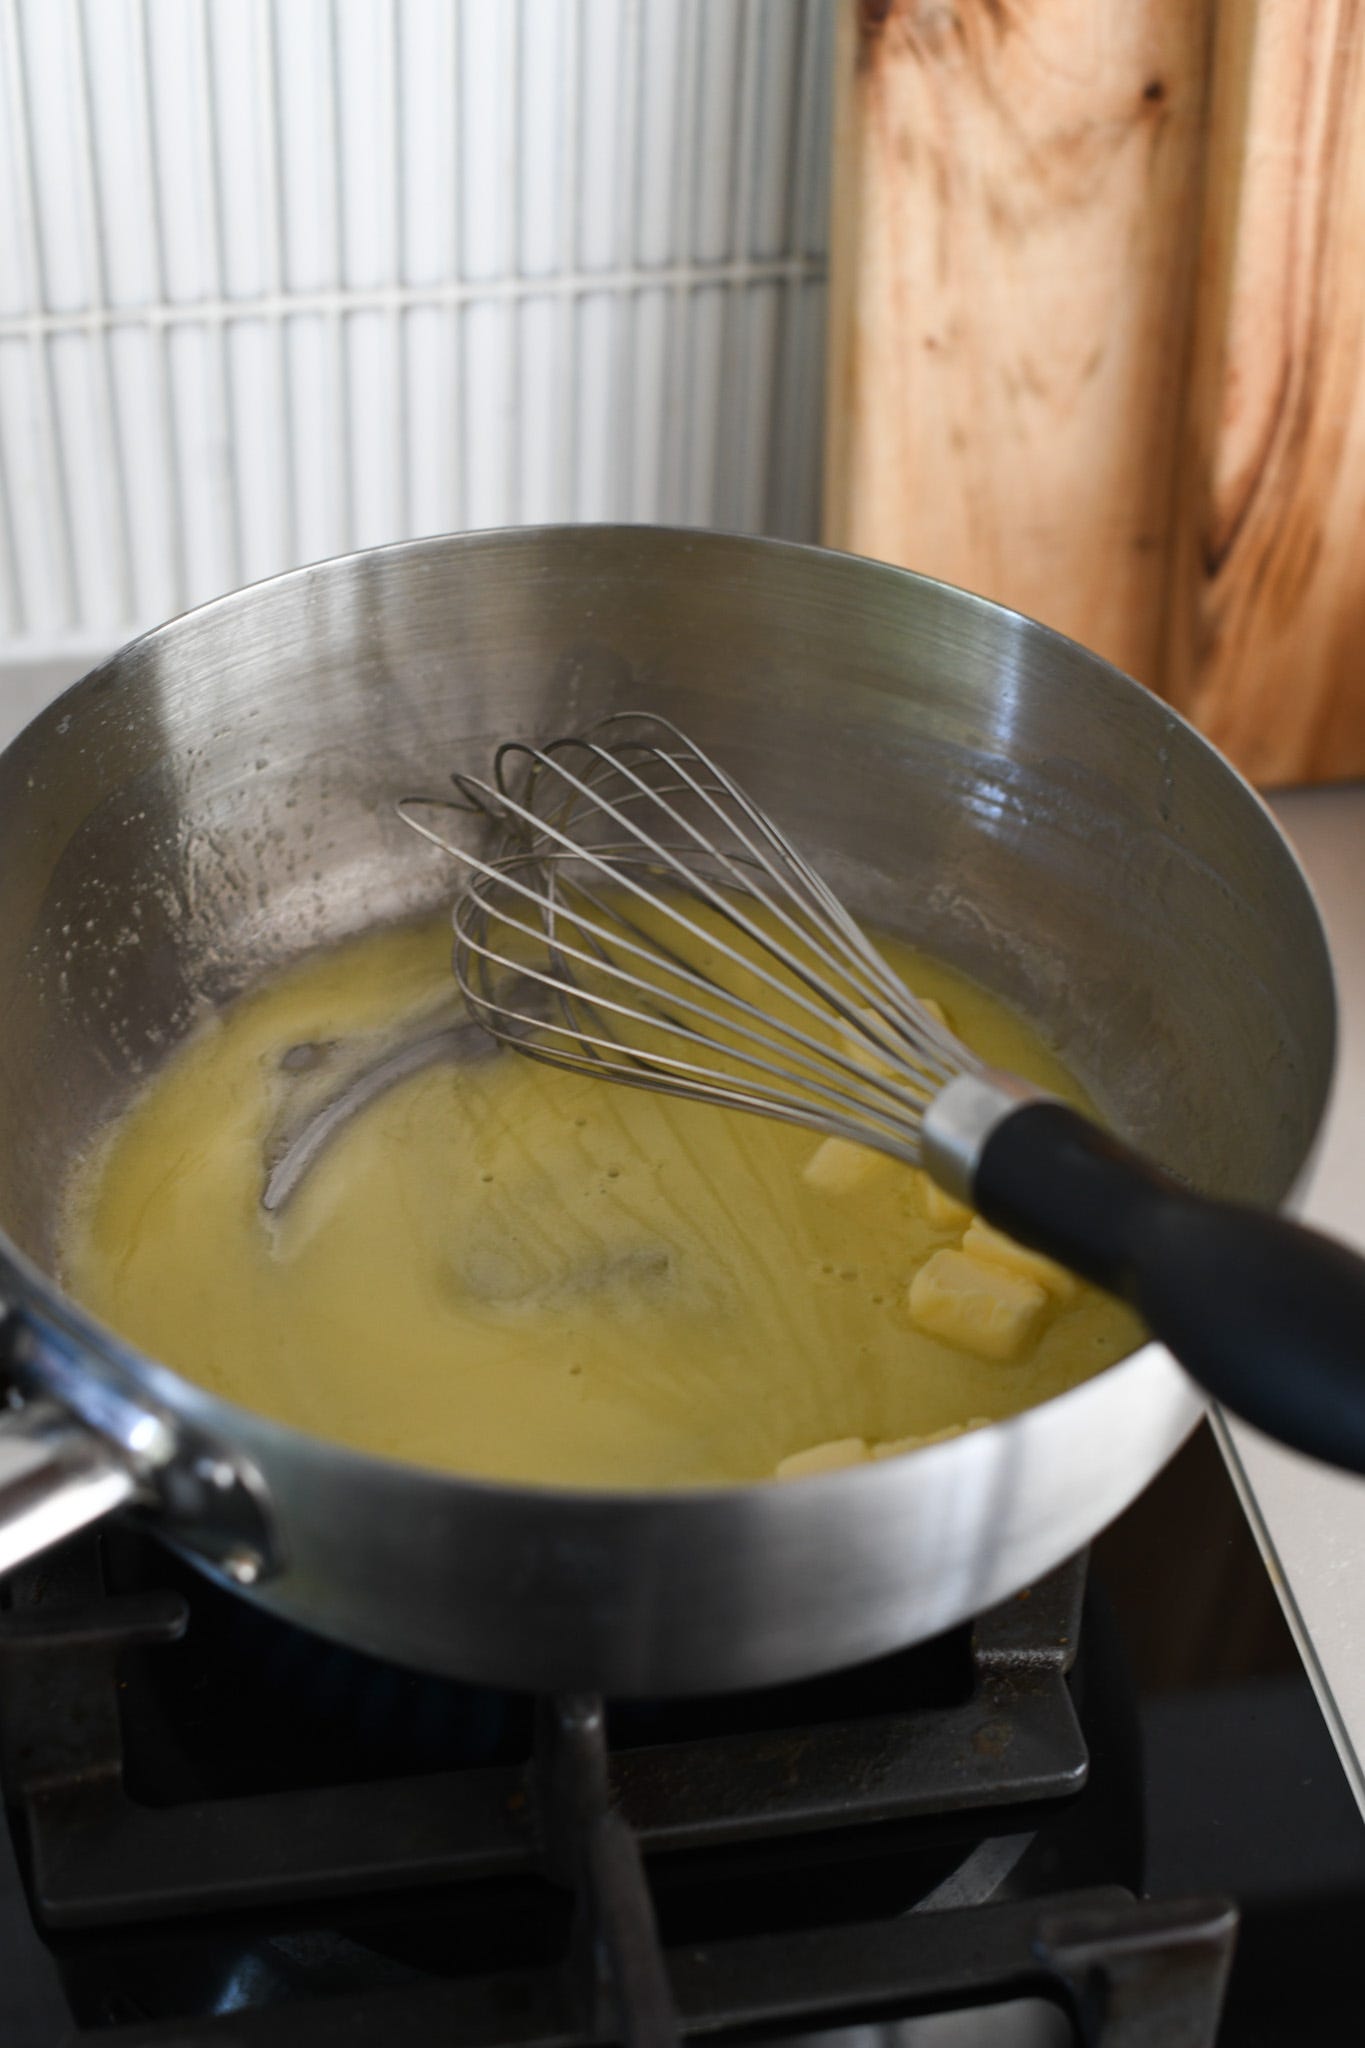
Once the water is boiling, drop in a cube of cold butter, swirling the pan and whisking continuously until the butter is emulsified and uniform.
Once you have this stable base, you can start adding in a couple of cubes of butter at a time - whisking, whirling and swirling.

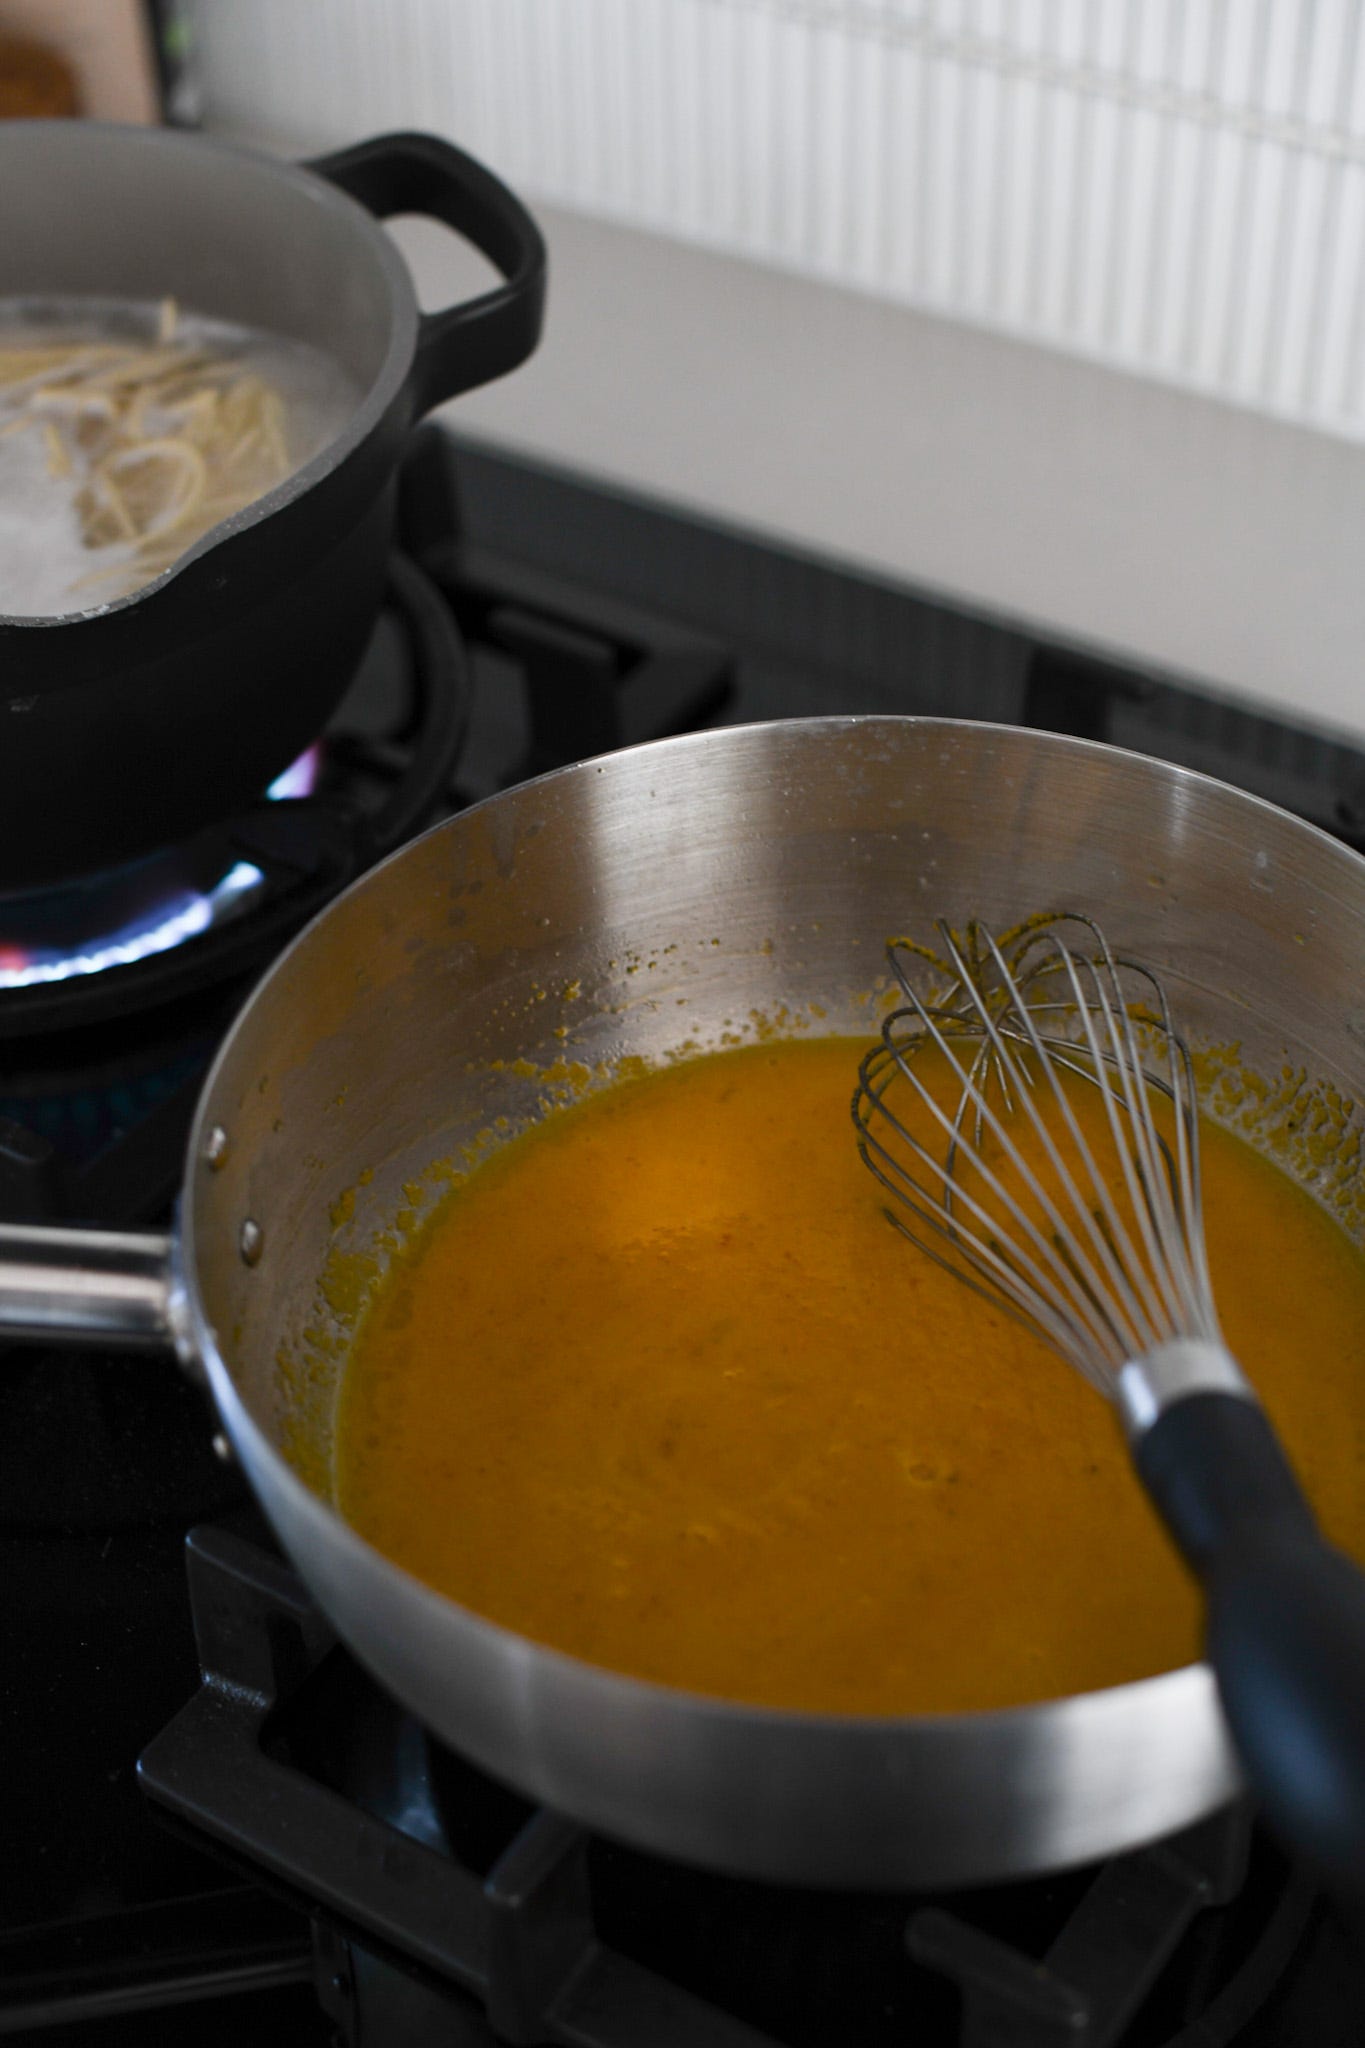
Remove the pan from the heat and stir through the grated bottarga, before whisking in a splash of the pasta cooking water.
Once the spaghetti is al dente - several minutes from dried - add it directly to the bottarga sauce using tongs. Don’t be shy to take a little more pasta water with you.
Toss and agitate the pan to marry and ensure the spaghetti is evenly coated with the sauce, then serve with extra grated bottarga.

Stunning! This goes against so much of what’s ingrained in my brain (mostly bothering to make dried spaghetti at home at all lol) but now I must try it!